
Chapter Walkthroughs
The Mimic chapter walkthroughs: Control I-IV, Jealousy I-IV, Rage and Rebirth. Keys, doors, hiding spots, objectives and Nightmare plays in order.
Introduction
The Chapters hub is the definitive walkthrough collection for The Mimic, covering every major storybook release: Control Chapters I-IV, Jealousy Chapters I-IV, the confirmed Rage Chapter 1 and the expanding Rebirth book. Each walkthrough lists the chapter in order — which doors to unlock, which keys and notes to find, where the hiding spots live and which objectives trigger the exit. Because The Mimic is a patrol-driven horror game, these guides also map where mimics spawn and how the route changes on Nightmare. The chapter list follows the verified release history gathered from community wikis and release-date records, and we mark anything that is still being confirmed so you can trust the order before you start a long playthrough.
Chapter Reference Table
| Book | Chapter | Key Locations | Status |
|---|---|---|---|
| Control | Chapter I | The School | Walkthrough live |
| Control | Chapter II | The Imperial Palace | Walkthrough live |
| Control | Chapter III | The Sakura Swamp | Walkthrough live |
| Control | Chapter IV | Control finale | Finale guide |
| Jealousy | Chapter I-IV | Book 2 locations | Walkthroughs live |
| Rage | Chapter 1 | Book 3 opener | Lantern badge |
| Rebirth | Book 4 chapters | New book | Confirming |
Chapter Breakdown
Control Chapter I
The School — first objective loop and patrol lesson
Control Chapter II
The Imperial Palace — hands and tighter patrols
Control Chapter III
The Sakura Swamp — the hands block your route
Control Chapter IV
The Control finale — rescue, choices and the close of the book
Jealousy I-IV
Book 2's four-chapter run with the Jealousy finale
Rage Chapter 1
Book 3's opener and the Lantern badge reward
Rebirth (Book 4)
The newest book, still being documented
Core Mechanics
Every chapter in The Mimic follows the same skeleton: an objective chain, a set of locked doors, a handful of story items to collect and an exit that only opens once the previous steps are complete. Mimics patrol the space along set routes, and the player must thread the gap between patrols while picking up whatever the chapter demands. Key items like keys and notes physically gate progression, so routing matters: the fastest walkthroughs plan the item order around the patrol path instead of wandering the map. Nightmare difficulty keeps the same layout but tightens the resources — faster stamina drain, more aggressive mimic timing — which means the route you learned on Normal is the exact same route you must execute perfectly on Nightmare.
Advantages
Detailed walkthroughs save you dozens of failed runs. Each chapter guide tells you the exact order of doors, keys and objectives, so you never wander the Imperial Palace looking for a note you already passed. The guides also call out the best hiding spots per zone, which cuts the number of Contact events dramatically on your first clear. For badge hunters, the walkthrough notes mark the Nightmare traps where players typically die, so you can prepare before you reach them. And because the chapter order is verified against release histories, you can plan the whole book — finishing Control I through IV in the right sequence unlocks the story beats in the way CTStudio intended.
Challenges
Several later-chapter details remain community-verified rather than officially documented. Rage and Rebirth chapter counts are especially uncertain — Rage is confirmed through its first chapter, while Rebirth's full chapter list lacks a solid snapshot, so walkthroughs for those entries may be thinner. Exact spawn timers and patrol paths are player-measured and can drift after patches. Seasonal maps and events like the Nightmare Circus are removed after their season, so a walkthrough for an event-exclusive route may become outdated once the event leaves. We label these gaps clearly and recommend double-checking the official game page before a heavy playthrough. Verify the chapter list you plan to play, and favor the books with the most complete walkthrough coverage.
Frequently Asked Questions
How many chapters does Control have?+
What is the correct chapter order across the books?+
Do the chapters change on Nightmare difficulty?+
Quick Tips
Always approach a locked door with a plan for the other side. In every chapter the key you just found opens a room with new patrols, so stand at the door, look through the gap and confirm the mimic route before you step through. Rushing the next door is the single most common way first-time players trigger an avoidable Contact event.
Mark the hiding spots on your mental map as you go. Walkthroughs list the safe lockers per zone, but the best spot is the one you checked twice: some mimics check nearby spots after a chase, so move on if you saw the entity glance your way even once. Mark the hiding spots on your mental map as you go. Walkthroughs list the safe lockers per zone, but the best spot is the one you checked twice: some mimics check nearby spots after a chase, so move on if you saw the entity glance your way even once.
Save collectibles for a second pass. If you are playing mostly for the clear, grab the keys and notes on the main objective line first, then circle back for optional story items after the mimics thin out — patrol density usually drops late in the chapter once the exit opens.
Featured
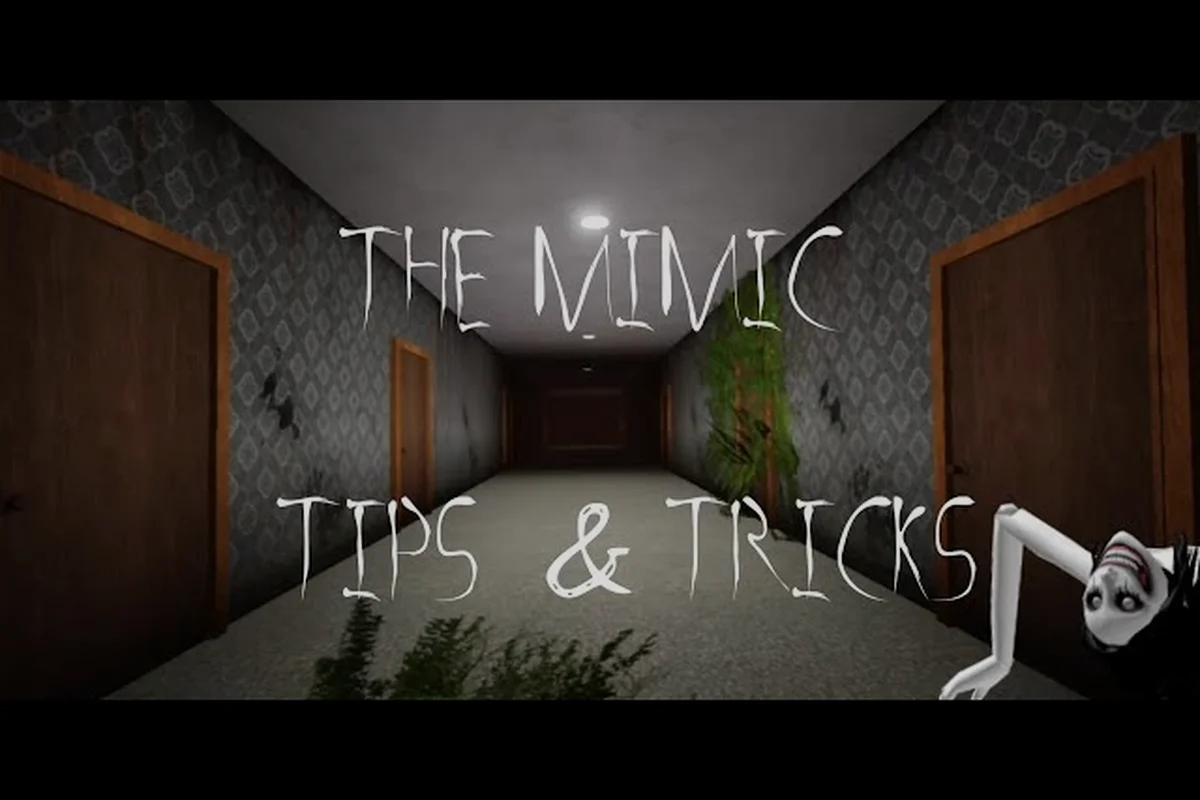
The Mimic chapter 1 objectives: Keys, Doors, and Collectibles
Complete The Mimic chapter 1 objectives with every School key, locked-door solution, collectible location, and the marker-to-key route used in Book 3.

The Mimic chapter 1 solo run: Nightmare survival route
Master The Mimic chapter 1 solo with a Nightmare-safe objective route, stamina control, key strategy, and tactics for finishing without teammates.

The Mimic Control Chapter 1 how to complete every task
Complete The Mimic Control Chapter 1 objectives with clear School routes, key locations, locked-door solutions, and safer tactics for evading mimics.
All Articles

The Mimic Book 3 Chapter 1 walkthrough with hidden secrets
Explore The Mimic Book 3 Chapter 1 walkthrough with every objective, key-door route, secret clue, and survival tip for the opening Rage chapter.

The Mimic chapter speedrun: Fast routes and secret endings
Speed up The Mimic chapter speedrun with efficient key orders, direct routes, movement tactics, and ways to uncover secret chapter endings.

The Mimic chapter walkthrough for every storybook and objective
Navigate The Mimic chapter walkthrough with objective markers, key-door solutions, monster-avoidance routes, and release-order details for every storybook.
The Mimic Jealousy Chapter 2 walkthrough and key route
Clear The Mimic Jealousy Chapter 2 walkthrough with objective steps, key locations, door routes, mimic tactics, and the Lantern-linked chapter reward.