
Locations
The Mimic locations and maps: The School, Japanese cities, the Imperial Palace, Sakura Swamp, caverns, hotels, shipwrecks and the Skull Maze.
Introduction
The Locations hub maps every nightmare setting you visit across The Mimic's storybooks. Control Chapter I anchors you at The School, where the peaceful Hiachi wanders the halls and the first mimic chase teaches you the hide-and-sprint loop. From there the books take you through typical Japanese streets in the early hours, the grandeur and danger of The Imperial Palace in Chapter II, the bloated Sakura Swamp in Chapter III, then further into caverns, hotels, shipwrecks and the legendary Skull Maze of the 4 Beasts. Each map poses its own spatial puzzle: where the doors sit, which rooms hide notes and keys, where the patrol routes bottleneck and where the safest hiding spots live. This page gives every zone a map-guide treatment with the route, choke points and community-verified hiding spots.
Key Locations Reference
| Location | Book / Chapter | Key Threat | Hidden Rooms |
|---|---|---|---|
| The School | Control I | First mimic chase | Yes |
| Japanese City | Control early | Patrol-based | Community-mapped |
| The Imperial Palace | Control II | The Hands | Yes |
| Sakura Swamp | Control III | Hands at choke points | Occasional |
| Caverns / Hotels | Later chapters | Varies | Player-discovered |
| Skull Maze of the 4 Beasts | Deep lore | Four-beast mythos | Legend |
Location Breakdown
The School
Control Chapter I — your first nightmare
The Imperial Palace
Control Chapter II — grandeur meets the hands
Sakura Swamp
Control Chapter III — the hands block your route
Japanese City
Control's early streets and the school-adjacent district
The Skull Maze
The legendary maze of the 4 Beasts
Caverns, Hotels & Shipwrecks
The claustrophobic maps of the later chapters
Core Mechanics
Each location in The Mimic is a scripted survival arena with a map flow designed to push you along the chapter's objective line. Entrances gate the route, doors and locks determine how far you can advance, and hidden props (keys, notes, story items) live inside rooms you only reach by solving the space. Patrols bind to the map geometry, so choke points — hallways, courtyards, doorframes — are where entities concentrate. Good maps understand this layout language: you want the objective route, the natural hiding pauses and the patrol bottlenecks. The Imperial Palace in Chapter II and the Sakura Swamp in Chapter III are the best examples, because each one locks you into a spatial puzzle where the hands and patrols control the path forward.
Advantages
A map guide saves you the most frustrating deaths in The Mimic: getting lost inside a locked loop. Each location entry lists the objective route, where keys and notes spawn and which doors genuinely lock progression, so you never circle the Imperial Palace looking for a door you already passed. The hiding-spot lists mark the safest lockers per zone, cutting Contact events on your first clear. Knowing where each area bottlenecks also lets you plan stamina: you keep your reserve for the corridors the patrols guard, rather than burning it on a confusing courtyard. A map guide saves you the most frustrating deaths in The Mimic: getting lost inside a locked loop. Each location entry lists the objective route, where keys and notes spawn and which doors genuinely lock progression, so you never circle the Imperial Palace looking for a door you already passed. The hiding-spot lists mark the safest lockers per zone, cutting Contact events on your first clear, and the stamina tips tell you exactly where to keep a reserve for the corridor the patrols guard.
Challenges
Map data for The Mimic is heavily community-assembled, because the game does not ship a minimap or official map list. Older names like 'La Quinta Highschool' and 'The House of Death' come from older community wiki pages and may differ from the current build, so we label legacy names. Seasonal locations such as the Nightmare Circus map are event-only and disappear when the event ends. Some hidden rooms and secret areas are player-discovered and may change with patches. Where we cannot confirm a location against current footage, we mark it as community data rather than asserting it. Map data for The Mimic is heavily community-assembled because the game does not ship a minimap or official map list. Older names like 'La Quinta Highschool' and 'The House of Death' come from older wiki pages and may differ from the current build, while seasonal locations disappear when the event ends and hidden rooms can change with patches. Where we cannot confirm a location against current footage, we mark it as community data rather than asserting it.
Frequently Asked Questions
Where do I start in The Mimic?+
What is the scariest location in The Mimic?+
Are the map guides updated for seasonal events?+
Quick Tips
Plan the unlock order before you explore. Locations in The Mimic are gated by doors and keys, so grab the note or key that opens the next door before you backtrack — most 'lost in the map' deaths come from circling a room whose key was on the route you already passed.
Map the choke points on your first pass. Every location funnels you through courtyards, doorframes or swamp paths where patrols concentrate, and those are the only places you really need to sprint — keep a stamina reserve for them and walk everywhere else. Map the choke points on your first pass. Every location funnels you through courtyards, doorframes or swamp paths where patrols concentrate, and those are the only places you really need to sprint — keep a stamina reserve for them and walk everywhere else in the zone.
Mark hiding spots twice. The best hiding spot is the one you verified — some locations have decorative lockers that are not usable, so it pays to confirm a spot works before a chase forces you into it. Mark hiding spots twice. The best hiding spot is the one you verified — some locations have decorative lockers that are not usable, so it pays to confirm a spot works before a chase forces you into it, and to re-check after a patch changes a map.
Featured
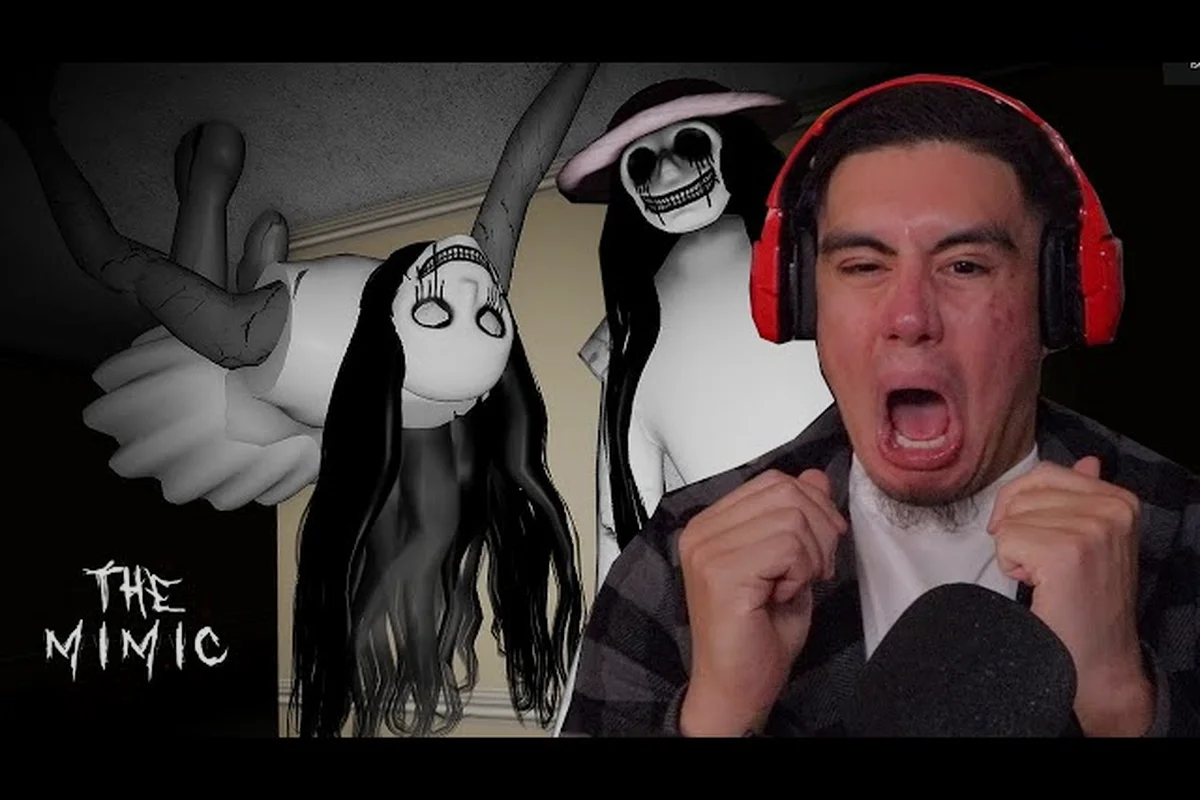
The Mimic House of Death: Locations and legacy name
Identify The Mimic House of Death locations, clarify the community-used name, and compare its darker school sections with the circus and Christmas maps.
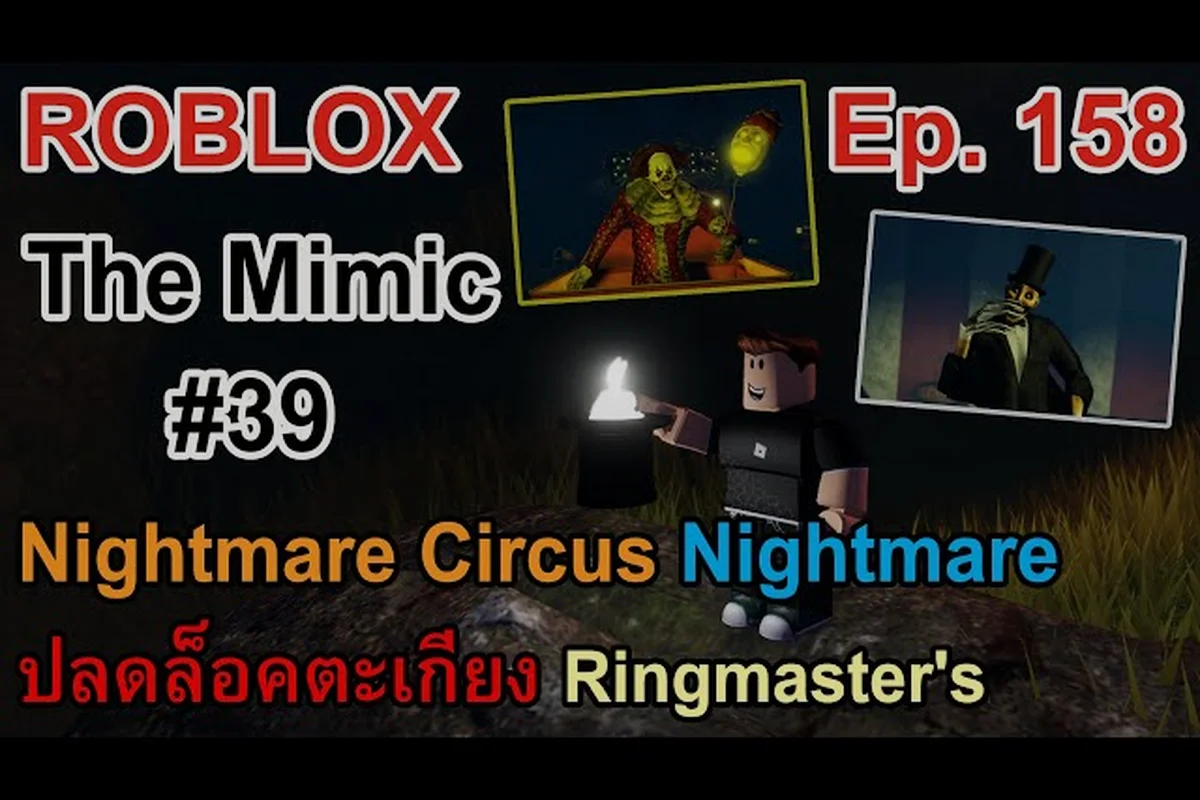
The Mimic best map: Scariest locations ranked
Compare The Mimic best map contenders, including the School, Japanese city, later interiors, Sakura Swamp, and the Caverns by atmosphere and difficulty.
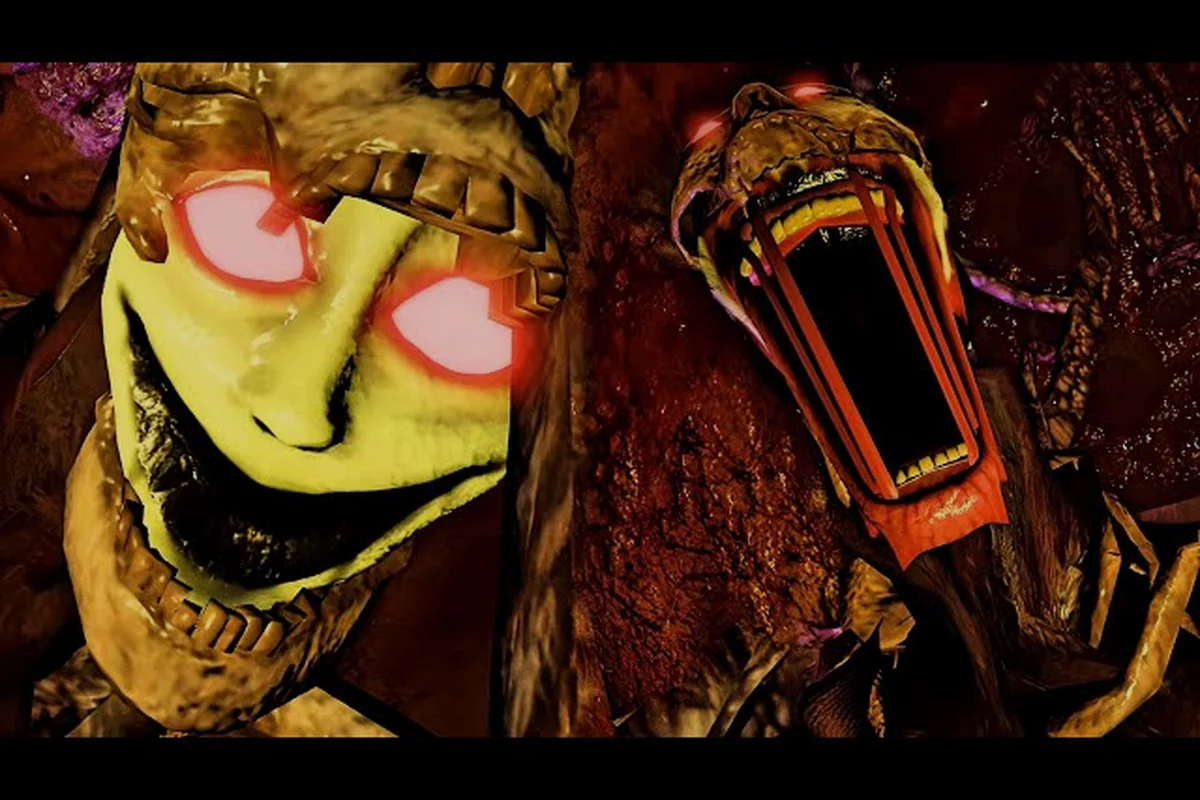
The Mimic Hotel map: Rooms, routes, and hidden areas
Navigate The Mimic Hotel map with room layouts, corridor routes, objective clues, and connections to later locations such as the Skull Maze.
All Articles
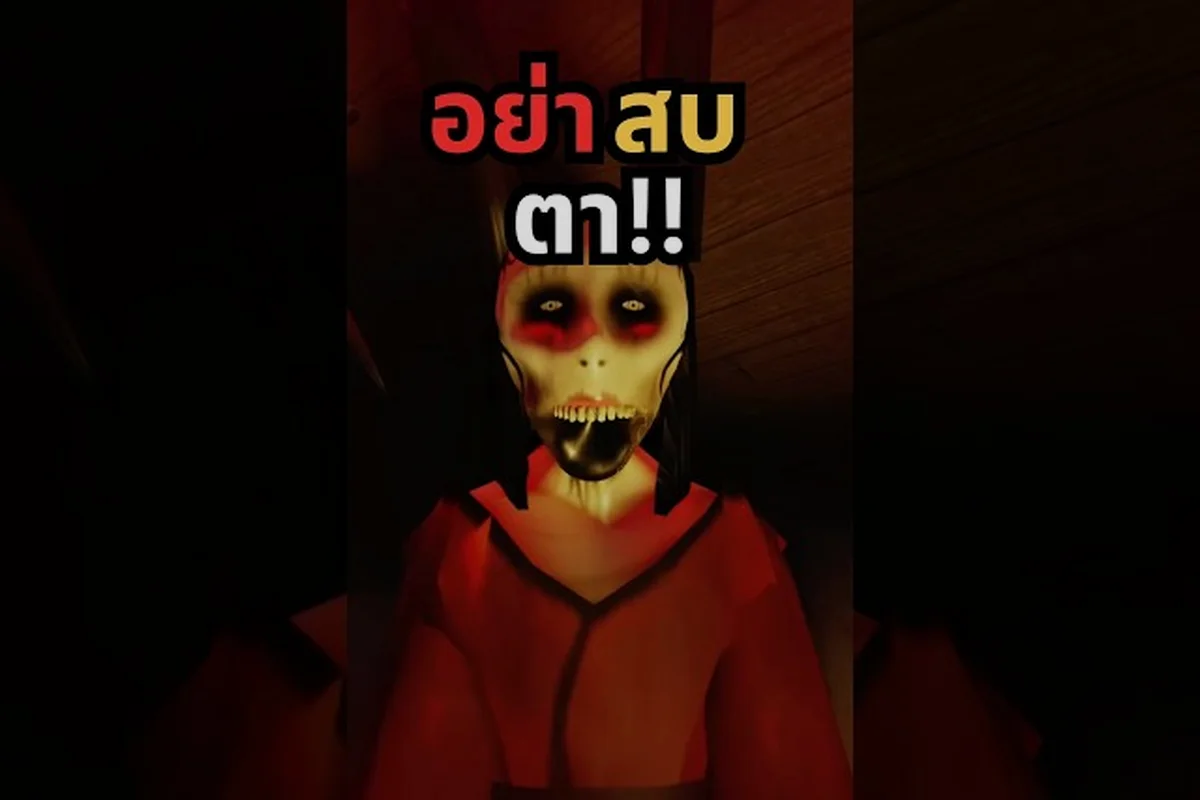
The Mimic Japanese city: Streets, Palace, and swamp
Explore The Mimic Japanese city, including lantern-lit streets, the Imperial Palace, and Sakura Swamp, plus the urban legends shaping their atmosphere.
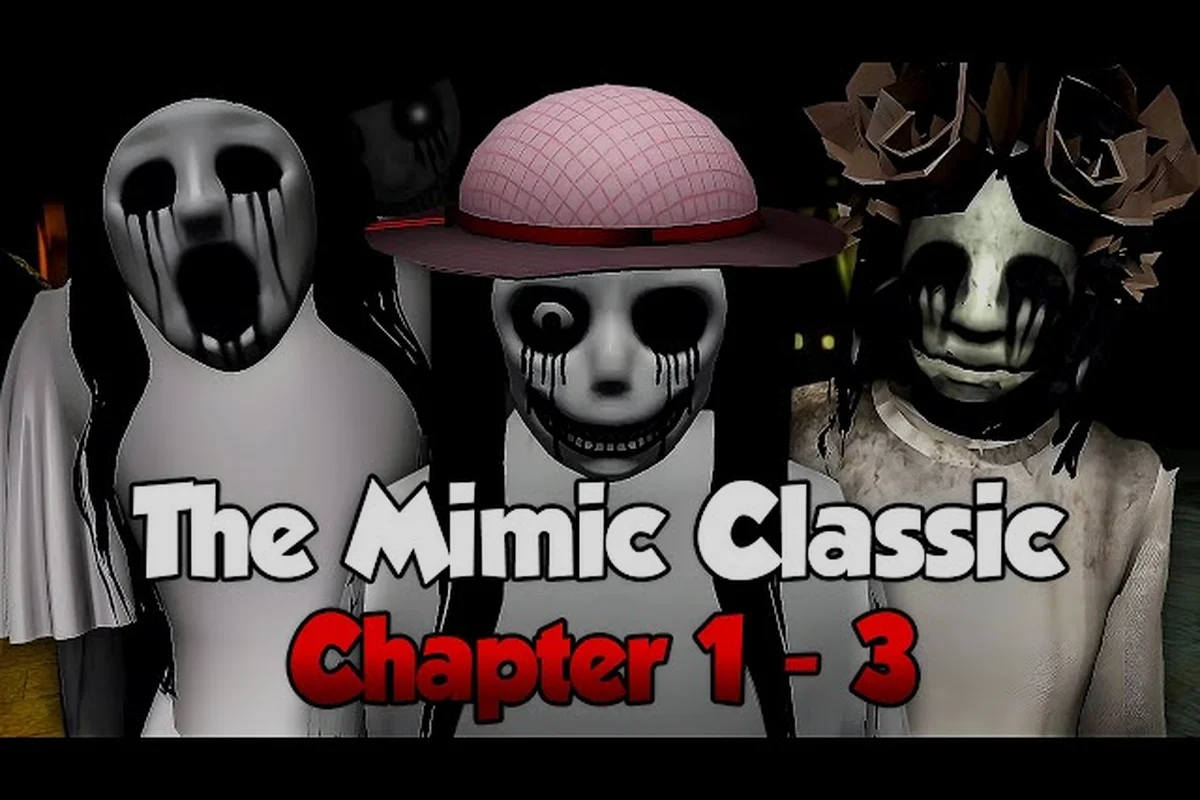
The Mimic locations list: Every map and setting
Browse The Mimic locations list, from the School and Japanese city to Sakura Swamp, caverns, and the Imperial Palace, with each setting’s book connection.
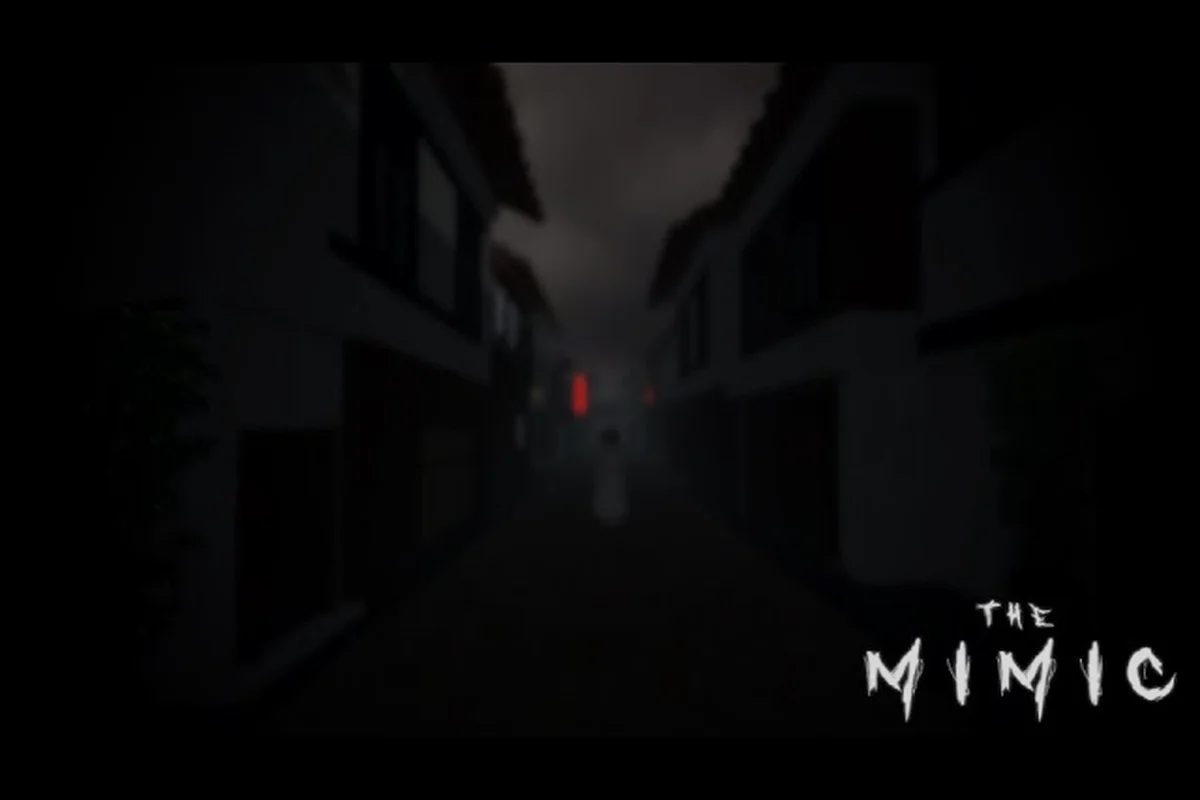
The Mimic storybook lobby: Start and chapter hub
The Mimic storybook lobby is the four-book selection hub where players choose a story, enter a world, and begin their first objective.