
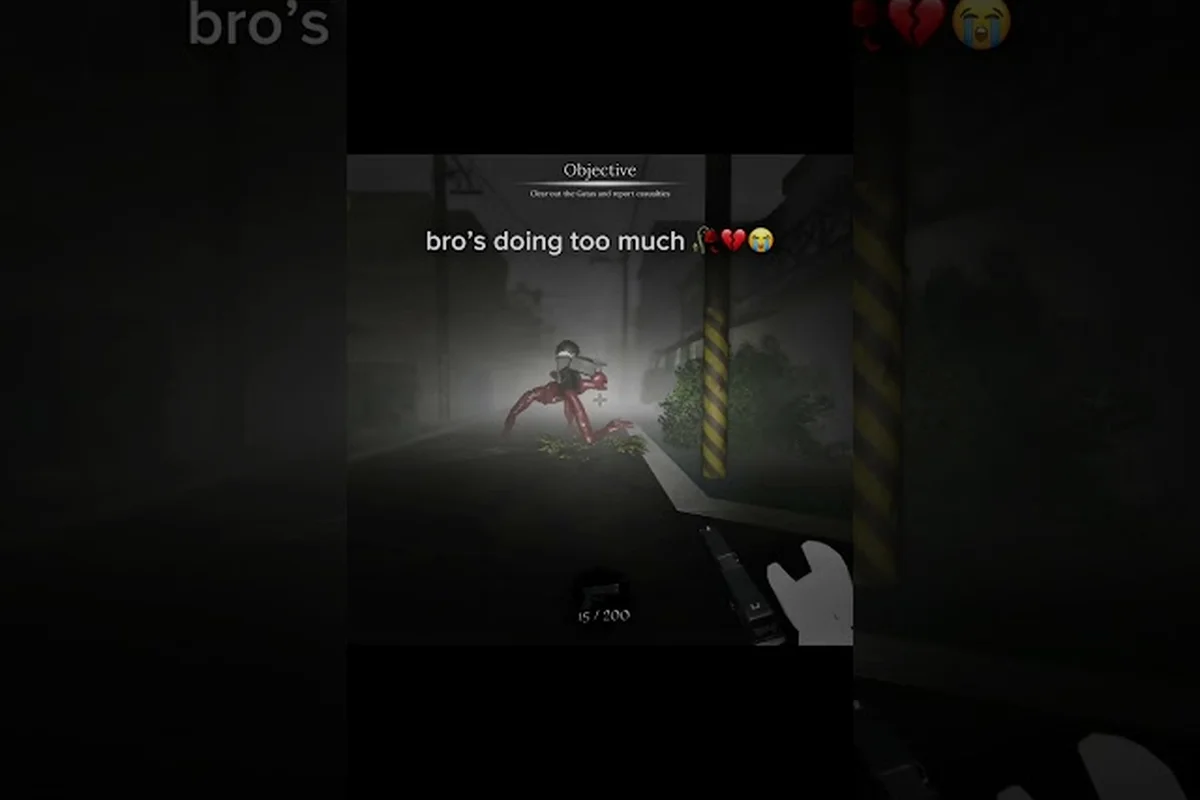
A reliable hiding plan can keep a pursuit from becoming a failed run, so this The Mimic hiding spots guide explains when to use lockers, beds, and environmental cover. Learn how to stay silent, watch patrol routes, and coordinate with friends in The Mimic solo play or a crowded multiplayer session.
The Mimic hiding spots guide fundamentals
Hiding works best as a planned escape rather than a last-second button press. The most useful hiding spots are not automatically the safest ones; what matters is whether you can reach the cover before a Mimic notices your movement, whether the entrance blocks your view, and whether you can leave without stepping directly into the creature’s path. This The Mimic hiding spots guide focuses on those practical checks instead of labeling every dark corner as a safe spot.
The distinction between concealment and protection is essential. A curtain can hide your body while leaving your outline visible, whereas a locker can conceal you completely but leave little room to react if the pursuer decides to inspect it. A bed may offer a low-profile option, although a noisy movement can still expose your position. Use cover that matches the immediate threat rather than relying on one favorite location.
| Hiding option | Best use | Main strength | Main weakness | Solo recommendation |
|---|---|---|---|---|
| Locker | Direct pursuit | Full body concealment | Limited escape angle | Use only when the door cannot be reached quickly |
| Bed or low cover | Passing patrol | Helps you remain below the sightline | Usually weaker against inspection | Prefer when the route ahead is still open |
| Wall recess | Short patrol gap | Quick entry and exit | Limited depth | Strong choice when the Mimic is moving past |
| Furniture cluster | Medium concealment | Breaks up your outline | Can restrict movement | Combine with another escape route |
| Shadowed corner | Ambush prevention | Helps postpone detection | Weak if the Mimic looks directly at you | Use only when movement cannot be heard |
Choosing cover by threat level
A patrol that has not noticed you calls for early concealment, while a Mimic actively searching requires distance and angle. If the creature is moving away, a shallow hiding place can work because you can quickly reposition. If it is turning back or listening, use deeper cover and place as much distance as possible between yourself and its likely search path.
For The Mimic solo guide, treat every hiding place as temporary. Before committing, identify one safe exit, one object that can block a direct approach, and one direction you can move without crossing the creature’s immediate view. These checks are more dependable than memorizing a single room layout because patrol direction, speed, and player position can change the value of the same cover.
The three-second entry test
Before entering cover, ask three quick questions. Can you reach it before the Mimic turns? Will your animation make more noise than normal? Can you remain still without being trapped if the sound carries? If any answer is uncertain, keep moving instead of forcing a weak hide.
This test also helps in The Mimic multiplayer guide contexts. Friends can watch an approach while one player hides, but they should not assume the hidden player knows a Mimic has reversed direction. A short, specific callout is better than continuous noise, because loud communication can reveal the group’s position to everyone nearby.
Locker, bed, and environmental hiding spots compared
Lockers are the most obvious choice, yet they are not automatically the strongest option. Their value comes from blocking sight, not from being labeled safe. If a locker stands in an open room, the animation and door movement may reveal you before the Mimic reaches it. If it is recessed behind a wall or accessible from a side corridor, it becomes much harder to inspect quickly.
Beds and low objects create a different advantage. They can keep a standing search from obtaining a clear outline, especially along walls, but they offer little protection if a Mimic checks the floor beside the bed. Environmental cover—walls, shelves, desks, machinery, and tightly packed props—works best when it interrupts a straight sightline. A single pillar may be enough if it hides your entire body from the patrol’s current angle.
| Cover type | Entry speed | Concealment | Exit flexibility | Risk level |
|---|---|---|---|---|
| Wall-side locker | Medium | High | Low | Medium to high |
| Corner locker | Medium | High | Medium | Medium |
| Bed under furniture | Medium | Medium | Medium | Medium |
| Floor-level gap | Fast | Medium | High | Medium |
| Desk or shelf shadow | Fast | Low to medium | High | Low when patrol distance is sufficient |
| Dead-end recess | Fast | Medium | Very low | High unless paired with another route |
Why open lockers fail
An exposed locker gives the pursuing Mimic only one action: approach the door. There is no meaningful angle from which you can observe the creature, so any sound becomes a major warning sign. Open-locker risk rises sharply when the room has a single entrance, no loose objects, and no path that lets you redirect the search elsewhere.
A better locker choice sits near a wall, faces away from the room’s center, and remains reachable from more than one direction. If you cannot confirm those features in advance, treat the locker as temporary cover and move to a more complex route before the search reaches you.
When beds outperform lockers
Beds are practical when the objective is to let a patrol pass rather than survive a close inspection. Their low profile can work around furniture, although players should avoid assuming that lying still makes movement noise disappear. Crouch before reaching the bed, stop before the cover animates, and make sure your exit does not point toward the center of the room.
Bed use is strongest along a wall where an approaching Mimic would need to step around the frame to see you. It is weaker in an open floor plan because the creature can view your position from several angles and your route out may lead directly toward it.
Environmental cover combinations
The strongest environmental spot combines two layers: a sight blocker and a noise buffer. A desk in front of a wall conceals your lower body while limiting the number of approaches, whereas a shelf beside a corridor gives you time to hear a patrol before it arrives. Two pieces of cover also create an escape option if the first is compromised.
| Situation | First cover | Secondary position | Why it works |
|---|---|---|---|
| Mimic approaching from the front | Wall recess | Side doorway | Breaks sight and avoids a direct face-off |
| Mimic moving down a corridor | Furniture shadow | Doorway beyond it | Preserves distance and a lateral escape |
| Mimic searching near the exit | Bed or low cover | Interior wall gap | Delays discovery without abandoning the objective area |
| Mimic checks the room | Deep locker | Unused side passage | Limits inspection time and provides a second route |
| Mimic follows sound | Quiet shadow | Adjacent doorway | Avoids repeating the noisy hiding action |
A compact comparison of cover quality can also be found in the broader survival guide, which is useful for connecting hiding decisions with movement, sound, and threat management. For example, when a Mimic patrols a corridor, a furniture shadow can break its line of sight, but only a nearby doorway preserves a usable escape route if it investigates; choosing a deep locker instead reduces inspection space but can leave the player trapped if the Mimic checks the entrance. The comparison therefore helps prioritize cover that combines concealment, hearing time, and a second route rather than relying on visual concealment alone.
Staying silent while using The Mimic hiding spots
Entering hiding cover only works if you preserve the information advantage. A Mimic that hears an unusual sound gains a direction to investigate, while one that sees you already knows where to look. The best hiding sequence reduces both channels: move quietly, stop outside the cover, and enter only when the patrol’s attention is directed elsewhere.
The main mistakes are rushing, repeating the same hiding action, and assuming that teammates will identify every danger. A sudden sprint into a locker can produce a louder and more obvious result than walking past the room. If a nearby Mimic has already focused on your general area, staying visible while it searches may be safer than committing to cover with a noisy entrance.
Control the information you reveal
Your movement, camera direction, and body outline all communicate. Face the cover before entering so the animation does not expose you to a second angle. Stop your camera before the hiding action completes if necessary, and avoid repeatedly peeking. Partial peeks reveal that you are in cover but can also tell a patient Mimic exactly where you are.
| Signal | What it may reveal | How to limit it |
|---|---|---|
| Sudden sprint | Your current position | Walk near the final approach |
| Hiding sound | The type of cover used | Enter after the patrol passes |
| Camera snap | Direction of concern | Move the view naturally and slowly |
| Repeated peeking | Exact locker or bed | Use one brief check, then stay still |
| Loud teammate callout | Several nearby locations | Use short, targeted information |
Coordinate without exposing everyone
In The Mimic how to play with friends situations, communication should confirm facts rather than narrate every movement. “Mimic left” gives useful information, while “I am near the third locker” can distract teammates during a critical search. Keep callouts brief and reserve urgent warnings for immediate danger.
Role-based watching helps during crowded runs. One player can monitor the corridor while another watches the room, but everyone should know that the watcher may have a different view. If a hidden teammate cannot see the pursuer, they should trust the watcher’s warning and remain still unless instructed otherwise.
For broader control of objectives and patrol pressure, see the first-hour guide. Its preparation advice pairs well with choosing a hiding route before the encounter begins: map two viable hiding spots rather than relying on a single locker or corner, since a pursuer who checks the first location may immediately redirect toward the second. In solo play, preserve mobility by choosing a route that lets you reposition after an objective alert; in multiplayer, agree on a fallback location without exposing every teammate’s position through constant callouts.
Solo and multiplayer hiding decisions
Solo play removes the safety of coordinated observations, so your route must contain more information. A safe choice is one where you can see an approaching Mimic before entering, where the hiding action will not announce your exact location, and where you can escape without passing directly through the creature. This makes The Mimic solo play less about finding a perfect hiding place and more about creating a sequence of low-risk decisions.
Multiplayer changes the problem. One teammate can distract a Mimic while another moves, but a mistaken callout can cause several players to rush into the same cover. Communicate the intended destination before moving, and avoid filling the nearest locker or bed simply because it is visible. Spreading the group creates more opportunities, although it can also spread useful sound in multiple directions.
| Condition | Solo response | Multiplayer response |
|---|---|---|
| Mimic has not noticed anyone | Hide early near an exit | Divide hiding positions rather than clustering |
| Mimic is checking one area | Move behind its route | One player watches while another relocates |
| A teammate made noise | Redirect before hiding | Mark the noise source and spread out |
| Objective must be completed | Hide briefly, then move | Assign one runner while others cover the route |
| Mimic is actively searching | Keep distance | Use short coordinated distractions |
Solo route planning
Plan two hiding stages instead of one. The first stage should handle a routine patrol, while the second stage handles the possibility that the same Mimic returns. This prevents the common mistake of using your only good hiding place and discovering too late that it has no useful exit.
| Route element | Purpose | What to check |
|---|---|---|
| Pre-hide stop | Listen before committing | Can you hear the patrol without exposing yourself? |
| Primary cover | Survive the first pass | Does it block the approaching sightline? |
| Exit lane | Leave after the search | Does it cross the Mimic’s path? |
| Backup cover | Handle a reversal | Is it reachable without passing the creature? |
| Objective return | Finish the round | Can you approach without crossing the patrol? |
Team spacing rules
Keep one route between each group rather than sending everyone down the same corridor. A useful rule is to avoid putting two hiders where one Mimic can inspect both from a single position. Leave visual separation between teammates, but preserve enough distance that they do not bump, crowd, or trigger each other’s noise.
In a large session, crowding risk is more important than finding an unused locker. Several players entering adjacent cover can create overlapping movement sounds and block one another’s exits. Use the outer edges of a room first, then place teammates near separate entrances where they can observe independently.
Practical hiding strategies for dangerous encounters
A hiding spot becomes dangerous when its entrance is exposed, its exit is predictable, or it requires you to cross open ground. Before using it, imagine the pursuer’s full path: where it approaches, where it stops, and where it turns. If every answer leads to the same door, the location is a trap regardless of how complete its concealment appears.
The strongest response to an approaching Mimic is often to remain outside cover until the last safe moment. A wall recess beside the patrol route can let you remain hidden while it passes, whereas a distant locker may force a noisy sprint. Delayed concealment is often safer because it preserves movement options and reduces the chance of revealing the hiding mechanism.
A reliable hide-and-leave sequence
Use this sequence when the route is uncertain: identify two hiding spots rather than committing to the nearest locker or closet, since a backup lets you relocate without crossing the Mimic’s open sightline. For example, if a patrol approaches a junction, choose a locker beside a solid wall with an adjacent crawlspace as fallback; if the first hiding spot is occupied or exposes the entrance, retreat to that crawlspace before the Mimic can close the distance. This two-position plan reduces the risk of entering cover too late while preserving a safer exit toward the objective.
-
Stop behind the first safe sight blocker and listen for the patrol’s direction.
-
Confirm that the intended cover is unoccupied and does not place the entrance directly toward the Mimic.
-
Move to the cover while the creature is focused on another area, slowing down before the hiding animation.
-
Remain still long enough for the patrol to pass the area without returning immediately.
-
Check one route, exit in a direction that avoids the immediate sightline, and move toward the objective or a safer route.
| Moment | Safe choice | Avoid |
|---|---|---|
| Before the pass | Hold behind existing cover | Sprinting from open ground |
| Entering cover | Move smoothly and stop close | Activating it from the room center |
| While hidden | Stay still and listen | Constant camera peeking |
| After the pass | Use a clear lateral exit | Stepping directly toward the search route |
| If the Mimic returns | Move to the backup position | Returning to an exposed locker |
Recovering after a failed hide
If you hear the hiding action attract attention, do not remain committed. Wait for the Mimic to investigate the entrance, then move while its view is occupied. If the creature remains fixed on the cover, use distance rather than another hiding attempt in the same area. Repeatedly using nearby spots can create a pattern that teammates or enemies can recognize.
Recovery distance should exceed the first hiding distance. The second position needs to be far enough that the search at the first location does not immediately transfer to the second. A neighboring locker may be easier to reach but gives the Mimic little work once it moves from one door to the next.
Use distractions without creating noise chains
A thrown object, environmental interaction, or teammate movement can draw attention away from a route, though the exact tools vary by encounter. The principle remains consistent: the distraction should end somewhere useful, not beside your intended cover. If the sound draws the Mimic back toward you, it has made the next hiding attempt harder.
For unpredictable patrols and altered rules, compare the Nightmare difficulty overview. On Nightmare, the Mimic’s patrol logic and sound cues can make a familiar hiding spot fail even when its timing was correct on another difficulty; a previously safe alcove may expose your position sooner, while a noisier route can trigger a faster investigation. Treat each hiding location as conditional rather than permanent, and use the difficulty-specific patrol behavior to decide whether you should hold position, move before the Mimic reaches the area, or choose a different route entirely.
Frequently Asked Questions
Where are the safest hiding spots in The Mimic?
The safest spots combine full concealment with a usable escape route. Lockers can be effective when recessed and approached indirectly, while beds suit low-profile passage scenarios. Distance from the Mimic, blocked sightlines, and a second exit matter more than any fixed location because patrol routes and encounter conditions can change.
Should I hide in a locker during a solo run?
Yes, but only after checking the approach, exit, and likely patrol direction. A locker protects your outline yet can leave you trapped if the Mimic inspects the door. Enter quietly, remain still, and use your planned escape route as soon as the search moves away.
How do I hide without alerting other players?
Keep communication concise, such as stating the Mimic’s direction rather than describing your exact position. Avoid repeated peeking and sudden sprinting, because both can reveal a hiding choice. If teammates are nearby, establish who watches the approach so the hidden player can react to a reversal.
Is it better to hide with friends or separate from the group?
Separate when possible because clustered players create overlapping sounds and limited exits. In The Mimic multiplayer guide scenarios, assign different sightlines and cover positions rather than entering the same locker area. Keep teammates close enough to coordinate, but give each player an independent escape route.
What should I do if a hiding spot fails?
Stop committing to the compromised spot and wait for the Mimic’s attention to fix on it. Move toward a second position that is farther away, preferably behind different cover. Repeatedly hiding nearby creates a predictable pattern and can waste the time needed to reach a safer route.