
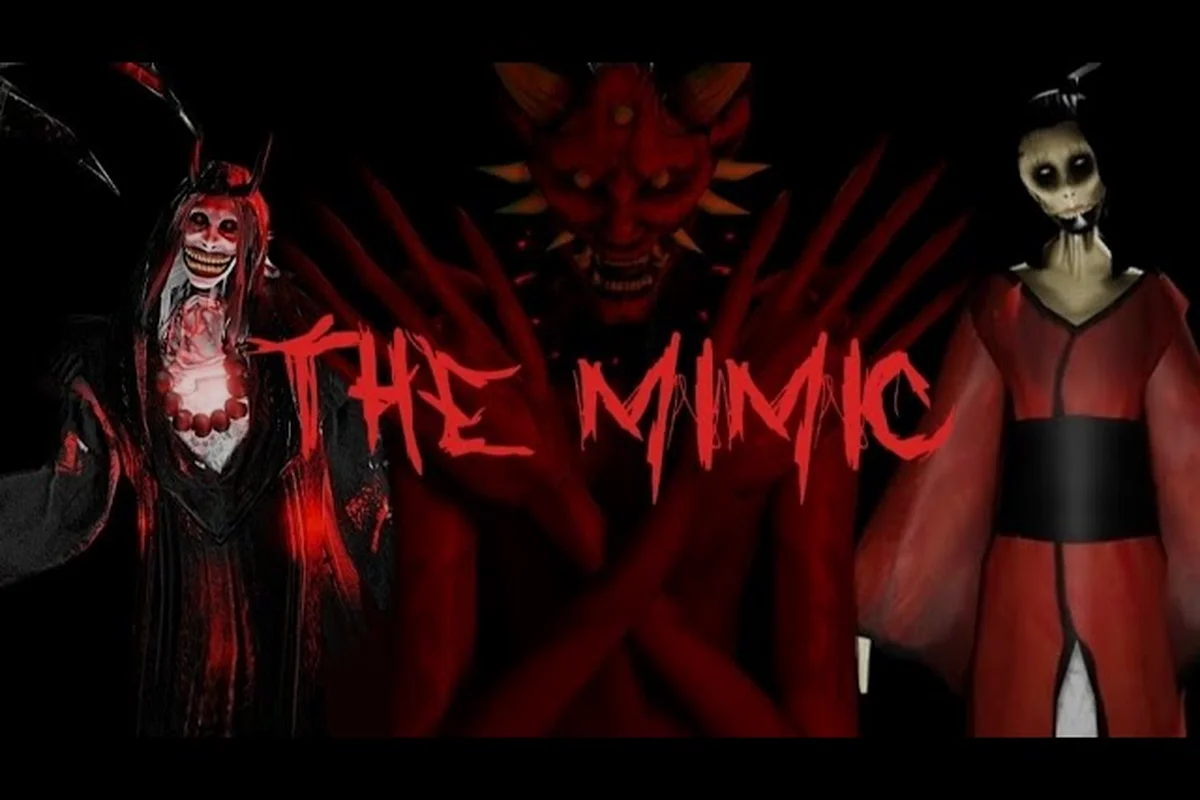
A strong The Mimic party guide is built on shared expectations rather than permanent class assignments. This guide lays out the co-op roles that keep objectives moving, the callouts that prevent panic, and the beginner mistakes that quietly break a team mid-run. Read the role framework first, then apply the recovery rules to your next session with friends—the difference between a scattered party and a coordinated squad is usually just a few clear agreements made before the chapter starts.
What Makes a Strong The Mimic Party Guide?
A successful The Mimic party guide is less about assigning permanent classes and more about creating a shared operating plan. The important questions are simple: who carries the objective, who handles pressure, who watches the flank, and what happens when one player cannot continue? That matters because co-op failure often comes from a mismatch of expectations rather than a lack of player skill.
Use this The Mimic party guide to establish clear roles, callouts, and recovery rules before a difficult run. Players who understand the basics can also review the starter guide for core systems, while experienced groups can use the tactical framework below to reduce unnecessary deaths.
| Party principle | What the group should agree on | Failure signal |
|---|---|---|
| Objective ownership | One player leads the current interaction | Two players compete for the same action |
| Pressure coverage | One player handles threats or distracts enemies | Everyone retreats at once |
| Rotation order | Players know who acts next | Repeated hesitation near a door or corridor |
| Recovery plan | Fallen players are prioritized or protected | The group continues without addressing the casualty |
| Communication style | Short, specific callouts replace long explanations | Callouts repeat generic warnings too late |
Choosing Co-op Roles That Work Together
Roles in The Mimic should describe current responsibilities rather than permanent identities. A player who handles movement and distracts monsters in one encounter may need to collect an item in the next, especially when the group lacks a dedicated support player. This flexible approach prevents the team from becoming less effective simply because one person is absent.
The Objective Specialist
The objective specialist should interact with the clearest task, read the room for progress prompts, and prevent the group from missing a secondary detail. This player should not automatically own every task, because that can leave teammates idle or unaware of nearby danger. Instead, the specialist announces the plan, completes the action, and reports the result before moving to the next position.
When no dedicated specialist is available, the most patient player can temporarily assume the role. New groups often benefit from reviewing the co-op overview and game basics before assuming that every visible object is interactable or that every enemy must be fought.
The Pressure Handler
The pressure handler creates space for objective work by engaging nearby enemies, leading threats away from the group, or covering a retreat route. This role is valuable because teammates often become vulnerable while they focus on doors, containers, puzzles, or other context-sensitive actions. The handler should prioritize separating threats from the specialist instead of chasing distant enemies for easy extra damage.
| Role | Main priority | Avoid |
|---|---|---|
| Objective specialist | Complete and verify the current task | Wandering off before reporting progress |
| Pressure handler | Keep enemies away from active objectives | Chasing targets far from the group |
| Flank watcher | Monitor side paths and rear approaches | Standing so far away that warnings arrive late |
| Retreat anchor | Preserve a safe path back | Blocking the only escape route |
| Support player | Restore, revive, or stabilize teammates when available | Consuming every resource at the first injury |
The Flank Watcher and Retreat Anchor
These responsibilities can belong to the same player in a smaller group. The flank watcher listens for movement behind the team, checks side entrances before the group commits, and alerts others when an enemy bypasses the front. The retreat anchor keeps escape routes clear, watches the floor behind the group, and helps teammates retreat without colliding with one another.
The practical benefit is shared attention. Four players can all stare at the same approaching enemy while another enemy reaches the objective specialist. Splitting attention creates Coverage by Position, which is more reliable than hoping one teammate notices every danger.
Coordinating Objectives Without Splitting the Team
The strongest The Mimic team guide principle is that objectives should determine the formation. Players should gather only when separation creates risk, then regroup before crossing thresholds, interacting with machinery, or entering a new enemy area. A tight group is vulnerable to area attacks, but an overly scattered party can take a casualty without any player noticing it.
Build a Simple Callout System
Effective callouts should identify Who, What, and Where whenever possible. “Enemy behind me” leaves room for confusion, while “Hunter, left corridor” gives the pressure handler an immediate target. Add a short marker for urgency, such as “falling,” “need a revive,” or “door open,” but avoid inventing a large command vocabulary that teammates will forget under pressure.
| Callout | Meaning | Expected response |
|---|---|---|
| “Hunter, back hall” | Named threat in a specific area | Nearest free player redirects or blocks it |
| “Need a revive” | A teammate is down and requires help | Support or closest safe player responds |
| “Objective ready” | Interaction can begin safely | Everyone holds pressure briefly |
| “Rotate left” | Group should change sides or route | Teammates regroup without crossing the objective player |
| “Clear” | Local area has been checked | Party advances together |
Use a Three-Phase Objective Loop
A consistent objective loop reduces confusion. First, the group identifies the task and its location. Second, one or two players create a safe interaction window while the others cover the approach and rear. Third, the team confirms completion before advancing. If the task fails or triggers danger, the group returns to its last safe position rather than improvising from the middle of a corridor.
This approach also reduces unnecessary competition for interactions. When two players can perform similar actions, they should agree on the order before touching the objective. Confusion at a shared terminal or container can leave one player vulnerable while the other believes the task is complete.
| Objective phase | Player activity | Why it works |
|---|---|---|
| Identify | Locate the task and nearby threats | Prevents entering with the wrong formation |
| Secure | Protect the player performing the action | Separates objective pressure from support pressure |
| Confirm | Verify completion and check for changes | Prevents accidental double interaction or missed results |
| Regroup | Rebuild a compact formation | Restores shared awareness before moving on |
The Mimic Beginner Mistakes That Break Team Runs
Many The Mimic beginner mistakes are communication problems disguised as tactical ones. Players tend to blame reaction time when the real issue is that the party never agreed on a priority. Before blaming an individual mistake, check whether the group had a clear objective owner, an escape route, and a signal for requesting help.
Ignoring the Rear of the Formation
Moving forward together does not guarantee that the group is secure. Enemies may approach from a side passage, a rear doorway, or an angle outside the main camera view. A player should periodically face backward or assign a rear check before the party enters a constrained area. This is especially important after a fight, when the group is likely to separate while pursuing targets.
Spending Every Resource Immediately
A support player who uses all healing or recovery tools during the first skirmish may leave the party unable to handle a later objective. Save resources when the danger is manageable, and use them when a teammate is down, a boss is entering a difficult phase, or an objective creates a known hazard. Community experience generally favors coordinated use over panic healing, although available abilities may vary by character or game mode.
| Common mistake | Better team behavior | Practical result |
|---|---|---|
| Everyone fights the same enemy | Assign one closer target and one area blocker | The objective player gains uninterrupted time |
| Healing at the first scrape | Preserve recovery tools for a confirmed emergency | The group retains resources for later threats |
| Following the loudest teammate | Agree on a formation before moving | Players do not cross or bunch at doorways |
| Splitting to collect optional items | Mark optional tasks and assign them intentionally | Optional exploration becomes a coordinated plan |
| Continuing after a teammate falls | Stop or limit the objective until the situation is assessed | A single casualty does not become a chain failure |
Treating Every Encounter as a Full Fight
Defeating every enemy may waste time and attract unnecessary attention. Sometimes the better plan is to avoid an encounter, close a route, or redirect enemies. The correct choice depends on the current objective and the party’s condition, so the player with the clearest view should call whether to fight, bypass, or retreat.
The Mimic Pro Tips for Consistent Team Play
Advanced groups improve by reducing their number of decisions. If a group wastes time debating every door, target, and resource, it will struggle later when the game requires fast reactions. Assigning temporary responsibilities and using simple signals makes the team faster without demanding complicated coordination.
Prepare Two Plans for Every Critical Area
The primary plan should describe the fastest safe route through an objective area. The fallback plan should cover a blocked door, an unexpectedly active enemy, or a teammate who becomes separated. A fallback does not need to be elaborate; it only needs to identify where the party regroups, which player handles the incoming threat, and whether the group should complete or postpone the objective.
Useful fallback scenarios include: a locked passage that forces the party to take a longer flank route, an enemy engaging before the group reaches its intended position, or a resource pickup disappearing when players delay on the objective. Before committing, mark the nearest safe regroup point and assign a temporary role to each player. For example, if the pressure handler is occupied elsewhere, the party should pause rather than continue into an area with no player able to cover the rear approach. This keeps the fallback actionable while preserving the option to retry the objective later.
-
Objective blocked: The specialist withdraws while the pressure handler holds the enemy away from the doorway.
-
Player separated: Everyone pauses at the last safe position and uses a directional callout instead of spreading farther apart.
-
Resource shortage: The group retreats before attempting another objective rather than entering with no recovery options.
-
Unexpected reinforcements: One player becomes the anchor while another collects the remaining players.
Keep a Visual Group Inventory
Before leaving a safe area, mentally note which teammates still have access to healing, revival, doors, objectives, or special interactions. A quick inventory prevents wasted rounds and gives the party a clear reason to regroup. If one player has the only tool needed for a later obstacle, that player should not rush ahead without a designated escort.
For more control over navigation, hiding, and dangerous encounters, the survival guide can complement these party habits with individual positioning techniques. In The Mimic, corridor pressure makes a loose formation costly: stagger entry so one teammate triggers an ambush without blocking the whole squad, keep ranged players behind corners rather than hugging the doorway, and rotate out after each room clears. This reduces the punishment from being caught in a Mimic’s pursuit pattern and preserves escape routes for players carrying keys, tools, or objective items.
Adapting the Party for Small and Large Groups
A four-player arrangement is not automatically the most effective team. Two players may move through an area more quietly, while three can cover multiple angles without creating too much noise. Larger parties should assign subgroups instead of giving every player a separate instruction that conflicts with the rest of the group.
| Party size | Recommended structure | Main risk |
|---|---|---|
| Two players | One objective player and one flexible support | Low coverage when separated |
| Three players | Objective, pressure, and rear coverage | One injured player can overload both helpers |
| Four players | Objective, pressure, flank, and anchor | Conflicting target calls |
| Five or more | Two small squads with a group lead | Duplicate tasks and crowded objectives |
| Solo or reduced party | One active role at a time, using safe retreats | Overextended movement and missed threats |
Two-Player Parties
With only two players, one should prioritize the objective while the other watches a larger area. Avoid splitting across doorways unless there is a clear communication advantage. When one player becomes trapped, the other should use the nearest safe interaction or distraction available instead of charging directly into the danger zone.
Four-Player Parties
A four-player team works best when responsibilities remain fluid but understood. One player can handle the objective, one creates space, and two cover sides and rear areas. If the pressure handler must assist with an interaction, the rear watcher should take over that duty without leaving an uncovered flank.
Larger Parties
Large parties need a single decision-maker during combat and objective phases, although input should still come from everyone. Break the group into pairs or trios, assign each subgroup a clear area, and reunite after the room is secure. Multiple players trying to interact with the same object can cancel progress or expose each other to danger.
A Practical Checklist Before the Party Commits
Use this Pre-Commitment Check before difficult rooms, major puzzles, or boss encounters in The Mimic. The goal is to prevent avoidable failures: for example, assigning one player to interact with a puzzle mechanism while another two cover the doorway and the third watches the rear prevents the party from becoming split around a Mimic encounter. This quick procedure turns the party guide’s role assignments into a repeatable routine, highlights beginner mistakes such as uncoordinated attacks or wandering outside the group’s protection, and makes problems easier to diagnose before the objective starts.
- Everyone knows the current objective and who owns it.
- The pressure handler has a clear threat to engage first.
- A rear or flank direction is being watched.
- The exit or retreat route remains clear.
- The party agrees to regroup after the objective completes.
- Recovery resources remain available for a true emergency.
- A fallback plan covers a blocked route or separated player.
- Optional tasks will be pursued only after the main objective is secure.
A Pre-Commitment Check takes less time than recovering from a failed encounter, because it prevents a single misread from turning a puzzle room into a multi-front Mimic battle. For example, if the party expects a mechanism to trigger a ambush, one player can activate it while the pressure handler identifies the first target and the flank watcher covers a side entrance. This addresses common The Mimic beginner mistakes: simultaneous but uncoordinated actions, unnecessary fighting before the objective is secure, and players wandering beyond the group’s protection. Treat the check as a quick decision gate: if the target, route, or recovery resources are unclear, delay entry and reassign roles rather than forcing the encounter.
| Final check | Pass condition | Adjustment if failed |
|---|---|---|
| Objective clarity | One owner and one backup | Assign roles before crossing the threshold |
| Threat clarity | Players agree on the first target | Pressure handler calls one target |
| Route security | Rear and escape path are covered | Shift positions before committing |
| Resource readiness | Emergency tools remain available | Delay the objective if needed |
| Regroup point | Everyone knows where to meet afterward | Set a visible or clearly described location |
Frequently Asked Questions
What is the best party size for The Mimic?
Two or three players often provide the cleanest balance because each member can cover a meaningful role without creating too many conflicting target calls. Four players can be effective when objective, pressure, flank, and rear duties are clearly assigned. The best size depends more on coordination and player confidence than on a fixed number.
Should The Mimic players stay together during every fight?
They should remain close enough to respond quickly, but not so tightly packed that one enemy blocks the entire team. A compact group works well around doors and objectives, while a slightly wider formation helps when enemies approach from multiple directions. Separate only when a clear task justifies the risk, and establish a regroup point before anyone moves out.
How can a team avoid reviving the same player repeatedly?
The best approach is prevention. Assign rear coverage, preserve recovery resources, and stop objective progress when a teammate goes down. If a revive is necessary, the nearest safe player should attempt it while another teammate holds threats away from that location. Repeated rescues often indicate that the group ignored positioning or entered with too few resources.
Who should handle doors, puzzles, and other objectives?
Give the objective to the player with the clearest view and the most suitable interaction ability, then protect that player with one or two teammates. Do not let everyone interact with the same device at once. Announce ownership, wait for the group to secure the area, and verify that the objective completed before everyone advances.
What is the most useful The Mimic pro tip for new parties?
Use short, specific callouts and keep everyone focused on the same immediate priority. A warning such as “Hunter, rear door” gives the pressure handler a target, whereas “careful” gives nobody an actionable instruction. Repeating a few consistent terms will improve the team more quickly than learning numerous commands that nobody uses under pressure.