
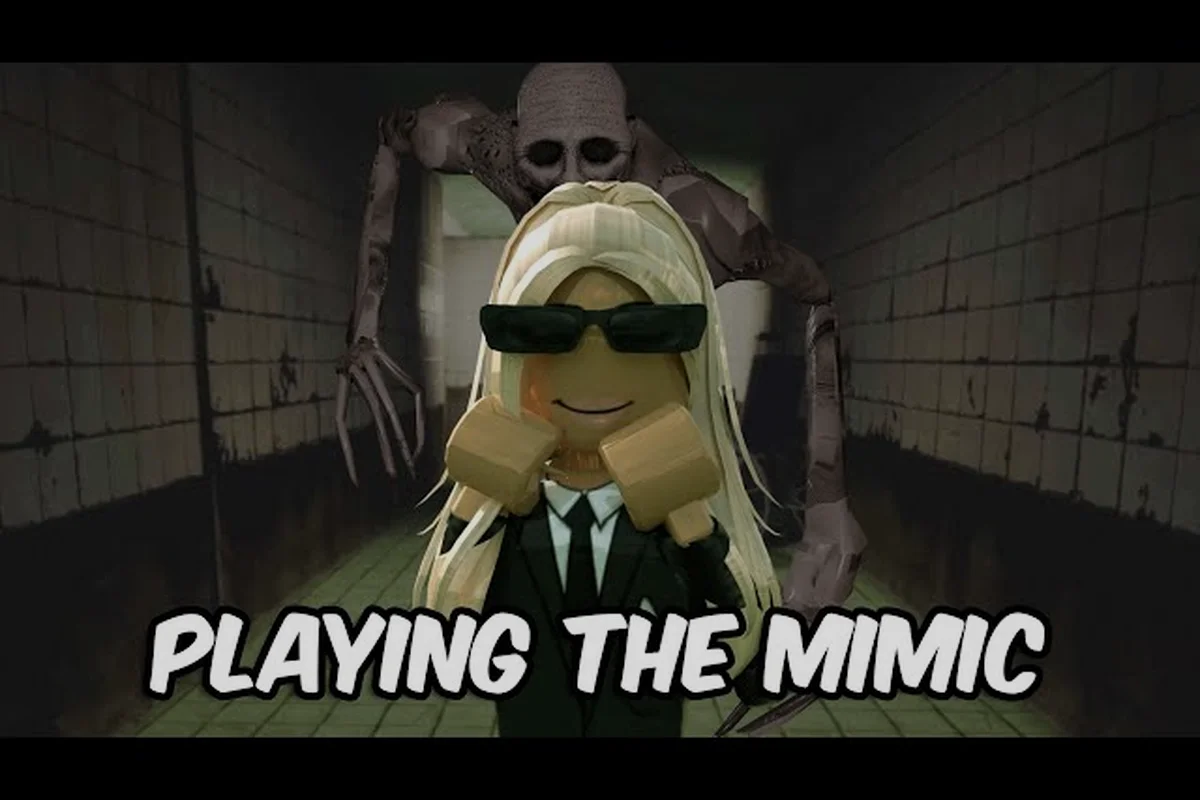
This The Mimic survival guide starts with one rule: read the threat before it commits. Listen for the rustle of its cloak and hurried footfalls to gauge distance, then sprint only when a hiding place is a few steps away rather than spending stamina on a risky detour. If the Mimic is close, break line of sight behind solid cover; if it hears movement, stay still until the search behavior passes. Preserve sprint for real escape, use crouching to control noise, and treat unexplained silence as a warning that the Mimic may already be nearby. These habits form the survival routine this guide turns into a repeatable plan for every chapter.
The Mimic Survival Guide: Build a Defensive Routine
A reliable escape plan in The Mimic begins with distance, timing, and a backup route. Sprinting is useful, but it is not the answer to every chase; panic often causes a player to turn down a dead end, waste stamina, or ignore a hiding place that was close enough to reach.
Start by separating survival into three decisions: first decide whether the Mimic can be avoided, then whether it can be outrun, and only then whether you need to hide. For example, a locked service door may break pursuit more safely than sprinting through a narrow corridor, while a detected Mimic requires distance and a clear escape route. This decision order keeps the The Mimic survival guide focused on measurable choices—maintaining escape distance, preserving stamina, and reaching cover—before committing to a risky chase response.
-
Can I avoid the encounter? Look for an alternate path, a closed door, or a patrol gap before the threat spots you.
-
Can I outrun it? Commit to a sprint only when the route ahead is clear and long enough to break contact.
-
Can I disappear? If the path is short, crowded, or blocked, use cover and remain quiet.
This decision order is the foundation of The Mimic survival guide. It prevents every noise from triggering an immediate sprint, preserving stamina for the moments when distance is genuinely required. For instance, a brief imitation sound behind a closed service door may call for pausing to confirm the Mimic’s position, whereas a confirmed sighting in a narrow corridor demands a fast exit toward an open route. Choosing the strongest defensive option available—whether that is breaking line of sight, locking a door, reaching cover, or running—turns The Mimic survival tips into a controlled response rather than a panicked reaction.
Manage Stamina Before the Chase
Stamina is more valuable than a single extra second of running. If you spend it on short bursts, a distant sound, and several unnecessary turns, you may enter the dangerous part of a route with almost nothing left. A better routine is to save the sprint for confirmed pursuit and walk quietly whenever the immediate threat remains uncertain.
| Situation | Best initial response | Stamina approach | Primary goal |
|---|---|---|---|
| Distant unexplained noise | Slow down and listen | Preserve most stamina | Identify the threat before committing |
| Threat visible but far away | Move out of its direct line | Save a full sprint | Reach cover or a safer route |
| Immediate close pursuit | Sprint in a clear direction | Spend stamina now | Increase separation before stamina runs low |
| Trapped near a hiding place | Hide immediately | Stop running and stay still | Break line of sight and reduce noise |
| Unknown nearby patrol | Hold position briefly | Avoid sudden movement | Let the patrol pass safely |
The important rule is that no single tactic works everywhere. A sprint is strongest in open space with several routes ahead, while hiding works best when the threat is close and moving noise would expose your position. The correct choice depends on the layout and what you know about the nearby patrol.
Keep Three Escape Routes
A good survivor does not focus on one door and assume it will remain open. Before entering a risky area, identify three exits or fallback positions: one obvious route, one less visible route, and one nearby hiding option. This does not require stopping for a long inspection; a quick scan while walking is enough.
Use the beginner guide for The Mimic to review basic controls, noise cues, and interaction patterns before attempting a stealthier route. Once those mechanics are familiar, spend less time checking menus and more attention on doors, blind corners, and environmental cover. For example, treat a doorway as a potential escape point, test the corner with a cautious peek, and move toward nearby furniture or wall gaps when the Mimic’s attention shifts; understanding these cues helps you react quickly without abandoning your escape plan.
Sound Cues and Visual Warnings in The Mimic
Survival depends on noticing a threat before it reaches striking distance. Audio is especially valuable when the route turns, because a pursuing enemy may already be around the corner while you are still looking at the previous corridor. Directional listening should therefore come before blind sprinting.
Learn the Warning Layers
Different warning signals answer different questions. A footstep tells you that movement is nearby, a visual glimpse confirms the danger’s position, and an environmental change can reveal that you have entered a patrol zone. Do not rely on only one signal, especially when lighting is poor or the audio mix is crowded.
| Cue | What it suggests | Immediate action | Mistake to avoid |
|---|---|---|---|
| Footsteps behind you | Something is moving in your area | Turn slightly, locate the source, then choose cover or flight | Sprinting without checking the direction |
| A door or object movement | The threat may be interacting with the environment | Pause, listen, and prepare an alternate route | Assuming every sound targets you |
| Enemy visible in the distance | Pursuit is possible | Move laterally toward cover or a clear escape path | Walking in a straight line toward it |
| Sudden silence | The threat may be waiting or listening | Hold still and avoid unnecessary input | Filling the silence with movement |
| Your own heavy breathing | Noise may reveal your position | Slow down when safe and remain behind cover | Panicked sprinting through open rooms |
Sound confirmation is more reliable than guessing. Community reports often emphasize that players who pause and listen tend to make better decisions because they can distinguish a nearby patrol from a distant event. That habit is especially important in The Mimic stealth guide, where remaining unseen can be more valuable than running immediately.
Control Visual Exposure
Movement draws attention, but so does crossing a bright, open sightline. Keep your route behind corners, shelves, doors, and other solid barriers whenever possible. If you must cross open ground, reduce the distance you spend there rather than trying to cross it at maximum speed.
A useful sequence is stop, identify, cover, move. Stop long enough to locate the threat, identify its direction, choose cover that breaks the line of sight, and then move before the threat can close the distance. This sequence preserves the option to hide even if the route changes.
Do Not Treat Every Sound Like a Chase
False alarms create exhaustion. The Mimic survival tips that matter most include learning which sounds are routine and which indicate an immediate search. A distant door closing may not require a full sprint; a rapid footstep pattern close behind you should. Judge by proximity, direction, and whether the sound is following your movement.
| Distance from the sound | Likely priority | Best response |
|---|---|---|
| Across the map | Low | Listen briefly and continue carefully |
| One room away | Medium | Prepare a route, but do not reveal your position |
| Around the corner | High | Find cover or move away from the likely path |
| Directly behind you | Critical | Sprint if the route is clear; otherwise hide at the first safe opening |
Use a staged response instead of reacting to every noise with a full sprint. Listen briefly for across-the-map sounds, prepare a route for noises one room away, and treat an around-the-corner footstep pattern as a high-priority ambush risk. If rapid steps occur directly behind you, sprint only when the exit is clear; otherwise, duck into the first safe opening and hold still. This prevents unnecessary stamina loss while keeping The Mimic how to survive decisions based on distance, direction, and movement rather than fear.
Sprint, Hide, and Fight: Choose the Best Response
The safest response is not always the most dramatic one. Sprinting creates sound and reveals your route, while hiding leaves you vulnerable if the threat checks your position. Fighting may be necessary in a corridor, but it can waste a health advantage you need later. Compare the options before acting.
When to Sprint
Sprint when the threat is confirmed, close, and moving toward you. The best sprint route is straight but not rigid: move toward an open exit, break line of sight around a corner, and avoid doubling back unless that detour hides you from pursuit.
Do not sprint when the enemy is still far away and unaware. The noise can reveal your exact position and pull the threat directly toward you. If you have just arrived in a new area, stop at the entrance long enough to listen before committing to a full-speed run.
When to Hide
Hide when the chase route is blocked, the Mimic is already searching, or you can reach cover before it reaches you. Early concealment is usually safer than a desperate dive into hiding after the threat has already seen you: once the Mimic detects movement, its search pattern becomes more focused, so breaking line of sight and entering cover immediately reduces the chance of a close encounter. For example, if it turns toward you in a corridor, use the nearest side room or obstacle and wait for its patrol to pass instead of sprinting into an open area, where sprint noise can reveal your route.
Before entering cover, check three things: whether the spot blocks the Mimic’s direct sightline, whether your approach avoids exposed or illuminated space, and whether you can hold still without revealing yourself during its search pattern. For example, slipping into a nearby side room during a corridor pursuit can preserve concealment, but entering through a bright central hallway may make hiding counterproductive; choose the route that removes both visual and audio clues before the Mimic closes the distance.
-
The hiding point is outside the threat’s direct sightline.
-
The approach does not cross an open, illuminated area.
-
You can remain still until the search pattern moves away.
For more detail on selecting cover, consult the hiding spots guide for The Mimic. The best hiding place is not always the most concealed object; it must also be practical to reach while the threat is closing.
| Response | Best use | Advantage | Main risk |
|---|---|---|---|
| Sprint | Confirmed close pursuit | Quickly creates distance | Noise reveals your route |
| Hide | Search phase or blocked escape | Removes visual and audio clues | Poor placement can trap you |
| Fight | Narrow passage with no viable escape | Uses a health advantage | May consume resources |
| Reposition | Medium-distance threat | Breaks a predictable approach | Slow movement may cost time |
When to Fight or Distract
Fighting makes sense when the enemy occupies a narrow route, your health is strong, and the surrounding space offers no better escape. In an open area, however, a fight can leave you stationary while the threat repeatedly forces you backward. If you can create distance with terrain, it is usually more valuable than trading hits in a cluttered space.
A thrown object or environmental interaction may redirect attention, but only use it when it creates a clear path rather than simply producing another noise. The goal is to move the threat away from your next objective, not to win a noisy contest.
The Mimic How to Survive Longer Patrols
Surviving one encounter is useful; surviving repeated patrols requires a consistent approach to objectives. The Mimic survival guide works best when every detour has a purpose and every risky room is entered with a time limit and an exit plan.
Set a Short Time Limit
Treat a risky area as temporary. Pick a nearby safe checkpoint and give yourself a limited window to search, collect, or interact. When the window closes, leave even if the objective is incomplete. This reduces the number of exposed seconds during which a patrol can catch you with no nearby cover.
The exact time limit can vary by player and difficulty, but the practical rule is simple: use a one-minute internal deadline for scouting unfamiliar areas. If you still need to investigate after that, first establish a new route from a protected position rather than forcing the original search.
Separate Exploration from Collection
Looking around and collecting items are different tasks that expose you in different ways. Exploration expands your map knowledge, while collection often produces a visible interaction. Try to scout first, remember the route, and return when the patrol has moved.
| Player action | Exposure risk | Better survival habit |
|---|---|---|
| Running through a doorway | Sound and direct visibility | Cross only after listening |
| Searching every container | Repeated stationary interactions | Collect during a patrol gap |
| Following a noise | Unknown destination | Mark the sound and approach indirectly |
| Rechecking the same room | Predictable pattern | Use a second entrance when available |
| Helping a teammate | Split attention and noise | Assign roles before entering danger |
Team play can improve survival when responsibilities are shared, especially during searches that split the squad’s attention and make Mimic detection easier. The party guide for The Mimic explains how to divide attention, avoid clustering, and keep communication focused during dangerous sections. For example, one player can watch the doorway while another searches a container, then both can regroup before the patrol returns. Use short, task-specific callouts—someone opens, someone watches—and stop gathering immediately if a Mimic cue appears.
Use Routes That Create Distance
A useful route is not merely the shortest one. It should offer turns, barriers, and alternative exits that can break pursuit. When comparing two paths, favor the route with more safe stopping points if the objective can tolerate the extra distance.
A strong route contains one pivot point, where you can turn or enter cover. A stronger route contains two pivots, allowing you to change direction if the first becomes blocked. This is particularly valuable in The Mimic how to survive situations because the threat’s route is often less predictable than yours.
Preserve Resources for the Exit
Do not spend every useful item during the approach. Save healing, throwing distractions, or movement abilities for the moment when the route collapses. A resource used to investigate a container may be less valuable than the same resource used to escape after the patrol turns.
This creates a simple priority order: secure the essential objective, keep a route open, preserve one emergency option, then collect extras. For example, carry only one healing item and one movement or distraction charge beyond what is needed for the immediate objective; a second can remain at the staging point for a failed return. When time becomes scarce, the order prevents unnecessary greed, because an uncollected bonus is recoverable later, whereas a closed corridor or depleted escape tool may leave you trapped between patrol routes.
Advanced Stealth Strategies for The Mimic
Basic stealth depends on hiding and sprinting. More advanced play uses misdirection, timing, and controlled risk. You are not trying to remain invisible forever; you are trying to prevent the threat from reaching your position during the window needed to finish the objective.
Break the Pursuit Pattern
When you hide after being seen, wait for the threat to commit to a direction. Then move through the opposite side of the area, not back along the route it expects. Predictable movement is easy to intercept, so change pace and direction when you have cover between you and the search zone.
Do not wait for the threat to leave completely if it remains near your hiding place. Instead, move while its attention is directed toward the last place you appeared. This is the difference between merely concealing yourself and actively managing pursuit.
Control Sound at the Decision Point
Use sound to your advantage, but never as noise for its own sake. Walking on a quieter surface, pausing before opening a door, and avoiding repeated movement around the same object can reduce the number of clues you leave behind. Sound discipline is most valuable when you have just been seen and need the threat to lose confidence in your direction.
| Advanced technique | Best timing | Result |
|---|---|---|
| Delayed reposition | The threat searches the previous location | Breaks the expected pursuit line |
| Two-route retreat | A short chase develops | Preserves an alternate exit |
| Object distraction | The route ahead is blocked | Shifts attention briefly |
| Quiet regroup | Teammates become separated | Restores formation without attracting a chase |
| Risky objective grab | Patrol is moving away | Uses a short opening efficiently |
These techniques carry risk, so they should not replace basic caution. For example, an object distraction can buy only a brief search window: if the Mimic continues advancing toward your position rather than investigating the noise, abandon the distraction and use a two-route retreat before it reaches the blocked route. Breaking sightlines and increasing distance gives the Mimic a weaker pursuit line, while preserving another exit prevents the lure from trapping you between the decoy and your original position.
Prepare for Different Difficulty Conditions
Higher difficulty reduces the value of trial-and-error, although exact behavior may vary by platform or version. At stronger settings, preserve health more carefully, use shortcuts rather than repeated direct routes, and treat every objective as a possible noise magnet.
If you are preparing for a tougher mode, the Nightmare difficulty guide for The Mimic provides a focused reference for escalating threats and resource management. Apply the core rule from The Mimic stealth guide even when difficulty increases: leave the dangerous zone while a safe route still exists.
A Practical Checklist for Every Dangerous Area
Before committing to a hazardous area, use this checklist: pause at the threshold and identify what could make the Mimic notice you, such as open doors, sprinting, loose objects, or a teammate’s silhouette. Check the immediate route for cover and a retreat point, then estimate whether you can complete the objective without triggering a chase. If the route is unclear, gather information first; a short delay is safer than exposing the entire team to an unchecked patrol.
-
Sound check: Stop, listen, and identify movement around the nearest corner.
-
Escape check: Locate at least one visible exit and one possible hiding place.
-
Stamina check: Preserve enough sprint capacity for the confirmed chase.
-
Objective check: Identify the one item or interaction that justifies the exposure.
-
Time check: Set a short deadline and plan to leave when it expires.
-
Team check: Assign roles so one player does not create noise for everyone.
After the area becomes safe, reset rather than assuming the next room has the same patrol pattern. Doors, corners, and nearby objectives can redirect a threat, while narrow spaces may change how quickly you hear it. The strongest survivors react to current conditions rather than repeating a memorized route without checking.
The final habit is simple: sprint only against a confirmed threat, hide before the search reaches you, and keep one emergency option unused. Master those decisions in this The Mimic survival guide, and dangerous encounters become a manageable problem rather than a desperate scramble.
Frequently Asked Questions
Should I always run when the Mimic appears?
No. Run when it is confirmed, close, and blocking your clearest escape route. If a safe hiding place is closer than the open exit, hide before the threat begins searching. Constant sprinting wastes stamina and makes noise that can reveal your position.
What is the best way to conserve stamina in The Mimic?
Sprint only for a confirmed pursuit and use short bursts to create distance rather than running in circles. Walk carefully when checking unfamiliar areas, and preserve enough stamina to reach cover or cross the next open section. A full sprint with no route is usually less useful than a controlled retreat.
How can I tell whether a sound is close or far?
Stop moving, listen, and compare the sound with your surroundings. Close pursuit usually has clear directional footsteps or movement that responds to your position, while distant sounds can be muted by walls and distance. Mark likely patrol routes and use cover to verify before assuming it is safe.
Is hiding better than fighting in The Mimic?
Hiding is usually better when the threat is searching and you can reach cover unseen. Fighting becomes more reasonable in a narrow passage where escape is blocked, your health is strong, and a victory quickly opens the route. In open areas, creating distance generally preserves more resources.
What should a team do when members get separated?
Stop at the nearest protected checkpoint instead of rushing into the last known location. Assign one teammate to remain with the separated player while another checks a nearby route, keep communication concise, and regroup before continuing. Splitting further usually creates multiple targets and weakens the team’s ability to distract one threat.