
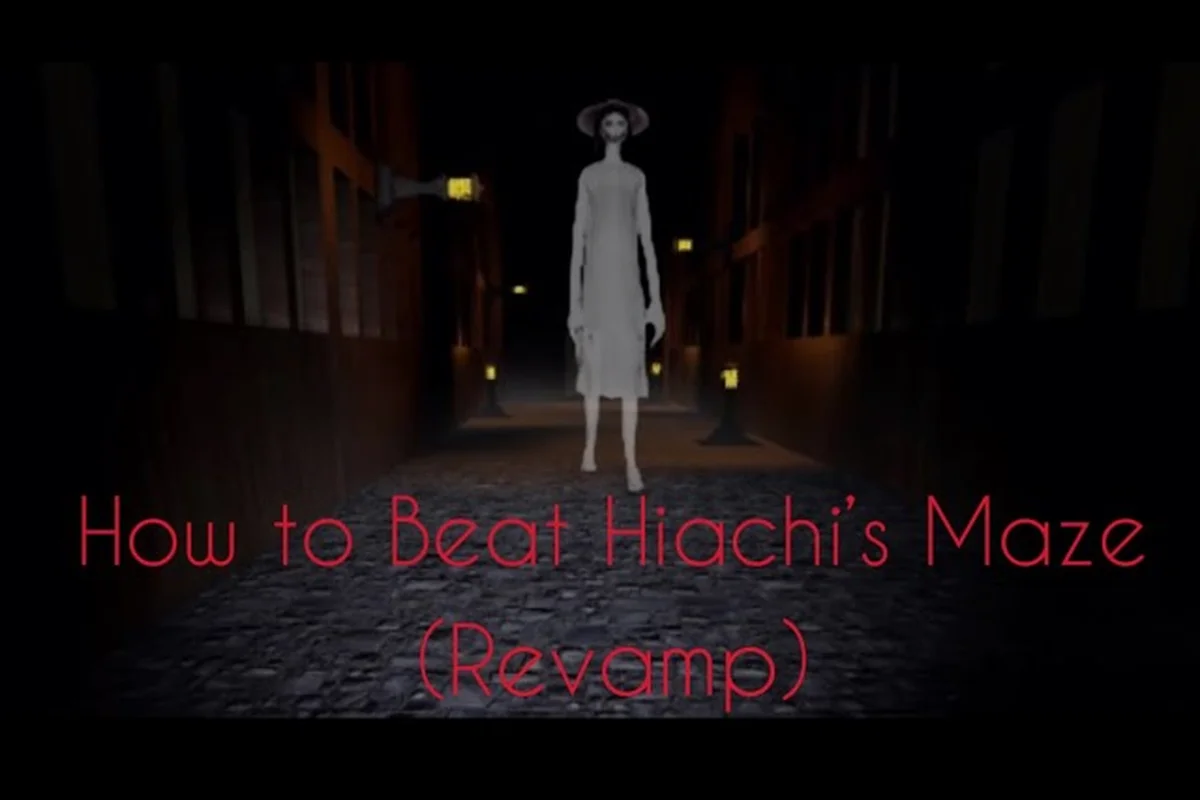
The Mimic the 4 beasts matter because each figure changes how the Skull Maze can be read: some pursue the player, one coils through the corridors, and others can be approached without immediate danger. This guide compares Kintoru, Enzukai, Netamo, the fourth figure, Hiachi, and the hands so you can recognize threats before they escalate.
The Mimic the 4 Beasts and Their Core Identities
The quartet is best understood as a set of recurring figures rather than four identical enemies. Their behavior differs by movement, threat level, and narrative placement, so a player who recognizes silhouettes can respond before a chase begins. The names also help when comparing the four beasts’ deeper lore, but the immediate practical clue is usually what the entity looks like and how it occupies a corridor.
| Figure or entity | Visual cue | Core behavior | Threat priority |
|---|---|---|---|
| Kintoru | Humanlike beast figure | Direct pursuit and close-range pressure | High |
| Enzukai | Humanlike beast figure | Persistent movement around the player’s route | High |
| Netamo | Large centipede-like form | Extended body crossing maze space | Very high |
| Fourth beast | Less consistently represented | Uncertain identity and role | Unclear |
| Hiachi | Smaller, friendly-looking monster | Can behave as a non-hostile entity | Low unless provoked |
| Ghost hands | Pale disembodied hands | Intrusive pursuit when encountered | Moderate to high |
This table uses visual and behavioral distinctions rather than unsupported statistics, because community references do not provide a reliable universal stat line for each figure. The official Book III trailer from CTStudios also provides the best authoritative preview for the broader presentation, although it should not be treated as a complete field guide.
Kintoru, Enzukai, and Netamo
Kintoru and Enzukai function as recognizable pursuers within The Mimic four beasts framework, while Netamo supplies the most visually dramatic encounter. The Mimic giant centipede is not simply a larger version of the humanlike figures; its elongated body changes navigation, creates wider danger zones, and makes tight turns more dangerous. A player can learn to identify the centipede by its segmented silhouette before reading a label or investigating environmental clues.
The exact patrol routes are not consistent enough to present as universal map data. According to community reports, encounters can depend on the book, chapter, and current route, so players should treat a remembered spawn point as a clue rather than a guarantee. That distinction matters because memorizing one location may create false confidence while the maze remains in motion.
The Fourth Figure and Hiachi’s Exception
The fourth figure is the least visually transparent member of The Mimic the 4 beasts. Community discussion often groups it with the named quartet because its role is intertwined with the Skull Maze, yet its appearance and behavior are described less consistently than those of Kintoru, Enzukai, and Netamo. The safest approach is to preserve the uncertainty instead of assigning it a confirmed identity or attack pattern.
Hiachi is a separate case rather than a straightforward fourth threat. The Mimic friendly monster Hiachi is often described as a non-hostile creature, which makes the Hiachi calm-state behavior useful to remember. Approaching calmly does not make every entity safe, but recognizing a friendly figure prevents an unnecessary panic and can make navigation more efficient.
Comparing The Mimic Four Beasts by Threat Behavior
Threat comparison is more useful than a simple strongest-to-weakest ranking because the maze changes every encounter. Netamo can dominate an open lane, a humanlike pursuer can close distance in a corridor, and the hands can invade space that initially appears safe. The relevant question is not only what can hurt you, but how each creature changes the route available to the player.
| Encounter | Best early warning | Main danger | Safer response |
|---|---|---|---|
| Kintoru | Humanlike movement at corridor edge | Sudden close-range pressure | Create distance, then change direction |
| Enzukai | Repeated presence along the route | Being funneled or followed | Break the expected path early |
| Netamo | Long segmented silhouette or sound | Body occupying multiple exits | Keep distance from its sides |
| Fourth figure | Uncertain but purposeful movement | Unpredictable encounter | Observe before committing to a path |
| Hiachi | Small friendly-looking silhouette | Accidental provocation | Slow down and avoid direct contact |
| Ghost hands | Pale hand shapes appearing in view | Loss of control and pursuit | Break line of sight and move decisively |
Why Netamo Feels Different
The Mimic giant centipede creates a spatial problem that the other quartet members do not. A single pursuer occupies a limited position, but a long body can block or expose several directions at once. Because the danger scales with its length and movement, the correct response is to avoid tangling your route with the body instead of trying to outrun it in a straight line.
A practical centipede spacing rule is to leave enough open floor for two independent escape options whenever possible. This is not a measured safety radius from an official manual; it is a decision aid based on the body’s visible reach and the need to avoid walking along its side. If only one route remains, use it quickly rather than pausing to analyze the animation.
Why the Hands Are Different
The Mimic hands entity is frequently described through the same ghostly imagery as The Mimic ghost hands, but its danger comes from pursuit and loss of control rather than a conventional body collision. A pair of hands also makes directionality harder to judge because the threat may appear where the player least expects movement. Treating the hands as a separate danger category prevents confusing them with Netamo’s segmented mass.
The safest response is to interrupt the encounter loop. Hiding in the same location repeatedly may not work if the entity remains active nearby, while rapid movement through unrelated corridors can bring you toward another threat. This connects with the broader issue of monster connections and chapter roles, where behavior may carry meaning beyond a simple chase.
Skull Maze Recognition and Safe Routes
Skull Maze recognition depends on environmental warnings, entity behavior, and controlled pacing. The Mimic four beasts are easier to manage when the player slows down before the threat is visible, because a corridor that appears empty may still contain evidence of recent movement. Marks, sounds, open doors, and repeated encounters all deserve attention even when no creature is currently on screen.
Warning Signs Before a Pursuit
The most valuable warning is often behavioral rather than visual. If the same junction produces an unusual sound, a moving shadow, or a door condition that changed without your input, treat the area as contested. Pre-encounter evidence can reveal a nearby presence, but it should not override direct observation because entities and hazards can share the same route.
Use this checklist before turning a corner:
-
Check open sightlines for a humanlike silhouette, segmented body, pale hands, or the smaller shape associated with Hiachi.
-
Listen for movement changes such as sudden scraping, rushing, or irregular footsteps, especially when the route is otherwise quiet.
-
Check the floor and walls for visual traces that differ from the maze’s normal texture or repeated placement.
-
Avoid automatic loops when an earlier path felt wrong, because returning to the same junction can reinforce a pursuit pattern.
-
Pause near decision points long enough to hear whether danger is approaching from ahead, behind, or an adjacent passage.
These steps do not require special equipment; they depend on observation. The official trailer shows the game’s emphasis on shifting threats and tense spaces, while player reports emphasize that careful route changes are often more reliable than memorizing every junction.
Building a Two-Exit Plan
The two-exit rule is a simple navigation habit: whenever possible, choose a route that leaves another branch available. It matters most when the player hears fast movement, sees a shadow pass across an opening, or finds a recently disturbed object. A second exit reduces the cost of a wrong turn because retreating does not require crossing the same entity twice.
| Maze situation | Preferred action | Why it works |
|---|---|---|
| Distant humanlike shape | Keep one side open | Preserves a lateral escape route |
| Centipede body partly visible | Move away from its flank | Reduces contact risk |
| Hands seen at a junction | Turn through a separate opening | Avoids direct pursuit contact |
| No visible threat, repeated sound | Stop and change direction | Breaks an uncertain tracking loop |
| Hiachi ahead | Approach cautiously | Preserves its non-hostile state |
When to Backtrack
Backtracking is most valuable when the player has evidence of pursuit but lacks a clear target location. It is less valuable when the route is fully visible and undisturbed, because moving needlessly can create a new encounter. The backtrack threshold should therefore be based on evidence: repeated sounds, sudden environmental changes, or an entity crossing the edge of vision.
This is especially important for the fourth figure, whose presentation remains uncertain in community descriptions. Rather than assuming a reliable rule, use conservative movement until the creature’s behavior is observed. The four beasts lore overview can help distinguish confirmed narrative details from interpretation, while the guide itself focuses on immediate decisions.
Hiachi and Non-Hostile Entity Behavior
Not every strange figure in The Mimic is designed for the same chase-and-response loop. The Mimic non hostile entity category includes figures that may remain passive, move away, or react only when the player invades their space. Understanding this category helps prevent dangerous overreaction and makes encounters more predictable.
Hiachi is the clearest example in the requested group. The Mimic friendly monster Hiachi is commonly identified as friendly, and reports describe it as passive when approached without aggression. That means the best response is not combat, but also not careless contact. Keep a small gap, watch its reaction, and leave if its behavior changes.
| Entity state | Likely response | Player action |
|---|---|---|
| Friendly or passive | No direct pursuit | Observe briefly and continue |
| Curious movement | Approaches or changes direction | Stop sudden gestures and back away |
| Startled state | Retreats or changes posture | Create space without blocking its route |
| Hostile state | Acts like a pursuing monster | Treat it as a normal threat |
| Ambiguous silhouette | Identity uncertain | Avoid assumptions and observe |
Why Friendly Does Not Mean Immortal
A non-hostile entity can still cause harm through environmental pressure. If it blocks a narrow corridor, crowds the player beside a hazard, or changes the behavior of nearby monsters, its peaceful status does not remove the need for caution. The practical distinction is that friendly-state avoidance should be voluntary and quiet, whereas hostile avoidance is immediate and forceful.
Players should also avoid turning every small creature into Hiachi. The Mimic friendly monster Hiachi is a specific identity, not a generic label for any harmless shape. When recognition is uncertain, observe posture, distance, and whether the figure follows. If it reacts to your presence but then settles, it may be harmless; if it closes in or mirrors your movement, assume danger until the behavior changes.
Situations That Break Calm Behavior
Community experience suggests that crowding, sudden movement, and blocked exits are the most important variables when a passive creature becomes stressful. There is no reliable evidence for a universal aggro meter, so treating the reaction as situational is more accurate than expecting a fixed trigger. Move at walking pace, avoid crowding corners, and never push past the figure at close range.
Practical Encounters With the Giant Centipede and Hands
The most difficult encounters combine environmental pressure with an entity’s movement pattern. Against The Mimic giant centipede, the key is to avoid alignment with the body. Against The Mimic ghost hands, the key is to break the pursuit pattern quickly. Treating both as generic monsters produces poor results because their danger occupies space differently.
Giant Centipede Encounter Plan
A safe giant centipede plan begins before the body is fully visible. Listen for a scraping or rustling pattern, look down intersecting corridors, and keep movement lateral when possible. If the body crosses a junction, wait for a gap rather than rushing under a moving segment. Body-gap timing is more valuable than a fixed countdown because speed and direction can change between chapters.
-
Stop at blind corners and check for the segmented silhouette before entering the opening.
-
Keep the centipede’s side in view if possible, because a sudden reversal is easier to detect from the side than from directly ahead.
-
Use broad junctions as escape points, where multiple directions provide more options than a long corridor.
-
Avoid passing between body segments, because even a small opening can close as the creature turns.
-
Change pace after it commits to a direction, since continuing on the same rhythm may carry the player into its route.
These recommendations prioritize route control, which applies even when the centipede is not immediately aggressive. It may cross the maze as a roaming threat, and proximity alone can force a detour.
Ghost Hands Encounter Plan
The Mimic hands entity punishes hesitation more than the giant centipede because the target is already moving through the player’s attention. The ghost hands break-line rule is simple: after seeing the hands, select a route that removes them from view and do not immediately circle back. This reduces the chance of retracing their path.
-
Identify the hands’ direction only long enough to choose a safe exit.
-
Move through a different opening rather than the one that leads directly back along their approach.
-
Do not stop beside a doorway, since hands emerging near a frame can narrow escape options.
-
Keep hands separate from Hiachi in your mental checklist, because one may be hostile while the other remains calm.
-
Use environmental landmarks, because a repeated wall mark or distinctive structure can reveal that the player has looped.
When Threats Compete
A chase becomes especially risky when two entity classes occupy the same junction. Netamo controls horizontal space, hands demand immediate redirection, and a humanlike pursuer can exploit a predictable retreat. If all three pressures converge, choose the route with the most open space rather than the route that appears shortest.
The open-space priority is especially important near Hiachi. A non-hostile figure caught between the player and a hostile can create confusion, so preserve a clear path away from both. If Hiachi remains in the route, move around it calmly; if the area is already dangerous, do not stop to confirm that it is friendly.
How to Read The Mimic the 4 Beasts Without Guesswork
Reliable identification requires separating visible mechanics from community interpretation. Kintoru, Enzukai, and Netamo have clearer visual identities, while Hiachi is recognized through calm behavior and the fourth figure remains comparatively obscure. The Mimic the 4 beasts is therefore a useful framework, but not every claim about the quartet has equal evidence behind it.
| Claim | Confidence | Best way to verify |
|---|---|---|
| Netamo has a centipede-like body | High | Direct visual observation |
| Hands appear as a ghostly pursuit entity | High | Direct visual observation |
| Hiachi can remain non-hostile | Moderate to high | Observe behavior without provoking it |
| Kintoru and Enzukai are humanoid pursuers | Moderate to high | Observe pursuit behavior |
| The fourth figure has one exact appearance | Low to moderate | Check multiple chapter encounters |
| Specific spawn points are universal | Low | Test across books or chapters |
This table intentionally separates confirmed observation from uncertain lore. As of October 2026, the available trailer confirms the broader visual direction, but it does not supply a complete enemy manual. Community reports remain valuable when they describe repeatable visual behavior, yet they should not be turned into exact damage values, fixed timers, or guaranteed patrol data that the supplied sources do not establish.
Confirming a Sighting
A reliable sighting log should include the book, chapter, maze area, silhouette, distance, movement, and what happened afterward. Record whether the entity pursued, remained passive, crossed the route, or only appeared at a threshold. This method helps distinguish a true recurring behavior from a chance encounter or another entity seen in poor light.
The broader monster behavior and jump-scare reference can provide a second layer of comparison, but the sighting log remains the more precise tool for learning The Mimic four beasts over multiple runs. It also reveals whether an apparent encounter was actually a jump scare, a distant silhouette, or a chase that began after the player triggered a room event.
Community Evidence Versus Visual Certainty
Community data is most useful for patterns that players can independently verify, such as Hiachi remaining passive or hands disappearing after a route change. It is less reliable for hidden trigger conditions because different players may describe unrelated events as one mechanic. Use player reports to form a test, then verify that test in the actual maze.
The same caution applies to the fourth figure. Community lore may connect it to control, jealousy, the Skull Maze, or another narrative idea, but a symbolic association does not establish an exact combat behavior. For practical navigation, the entity’s observed movement should carry more weight than its presumed symbolic role.
Final Field Checklist for the Four Beasts
The best preparation is a concise recognition checklist, not a memorization of uncertain lore. Keep the giant centipede’s body away from your route, treat the hands as a fast pursuit event, identify humanoid pursuers by their closing behavior, and do not provoke Hiachi. For the fourth figure, remain open to observation because its identity is less consistently represented.
Before entering a new maze section, check sightlines, sound, floor signs, and the possibility of a loop. Keep a second exit available, change direction when the environment feels wrong, and avoid treating the shortest route as the safest route. These habits also prepare you for the wider encounters cataloged in the jumpscare and monster list, where attention to movement can prevent a surprise from becoming a chase.
The central takeaway is that The Mimic the 4 beasts are best handled through spacing, observation, and flexible routing. Netamo threatens open space, the hands threaten sustained pursuit, humanoid figures punish predictable paths, Hiachi rewards calm behavior, and the fourth figure demands honest uncertainty. Recognizing those differences turns a confusing encounter into a decision you can make before it becomes a jump scare.
Frequently Asked Questions
What are The Mimic the 4 beasts?
The Mimic the 4 beasts generally refers to Kintoru, Enzukai, Netamo, and a fourth figure connected with the Skull Maze. Their exact presentation varies across the story, so the strongest identifiers are their recurring silhouettes, movement patterns, and narrative role rather than a single shared stat block.
Are Kintoru, Enzukai, and Netamo all hostile?
Kintoru and Enzukai are generally treated as hostile pursuers, while Netamo acts as a large centipede-like threat that can dominate maze corridors. Their danger depends on proximity and route conditions, but players should not treat any of them as safe to touch or provoke.
Is Hiachi hostile in The Mimic?
Hiachi is commonly reported as a friendly, non-hostile monster whose behavior can change when crowded or startled. Slow movement and respectful distance are the safest approach. Hiachi may still affect navigation, but a non-hostile status does not mean the creature should be cornered or ignored completely.
How should players deal with the giant centipede?
The best response to the giant centipede is to avoid aligning yourself with its body, especially near narrow passages and blind corners. Watch for a segmented silhouette, preserve an open escape route, and use broad junctions to create space. Quick sideways redirection is usually more useful than trying to race directly along the creature’s path.
Are the ghost hands the same entity as the fourth beast?
Community descriptions often connect the hands with the quartet and Skull Maze, but that thematic association does not by itself prove they are identical to the fourth figure. Treat the hands as a distinct pursuit behavior while investigating the fourth figure’s uncertain identity separately, and avoid assuming they share every trigger or movement rule.